
How to Build the Ultimate Grazing Table for Your Next Party
Turn any gathering into an unforgettable feast with a stunning grazing table piled high with gourmet cheeses, cured meats, and fresh fruit.
Published: Sep 29, 2026
A cross between a charcuterie board and a buffet, a grazing table is a surefire way to feed a crowd, create a party focal point, and get guests mingling. Just as important, it's surprisingly easy for hosts to pull off.
Grazing table process at a glance
- Plan
- Prep
- Add height
- Anchor
- Place large items first
- Fill the gaps
What is a grazing table?
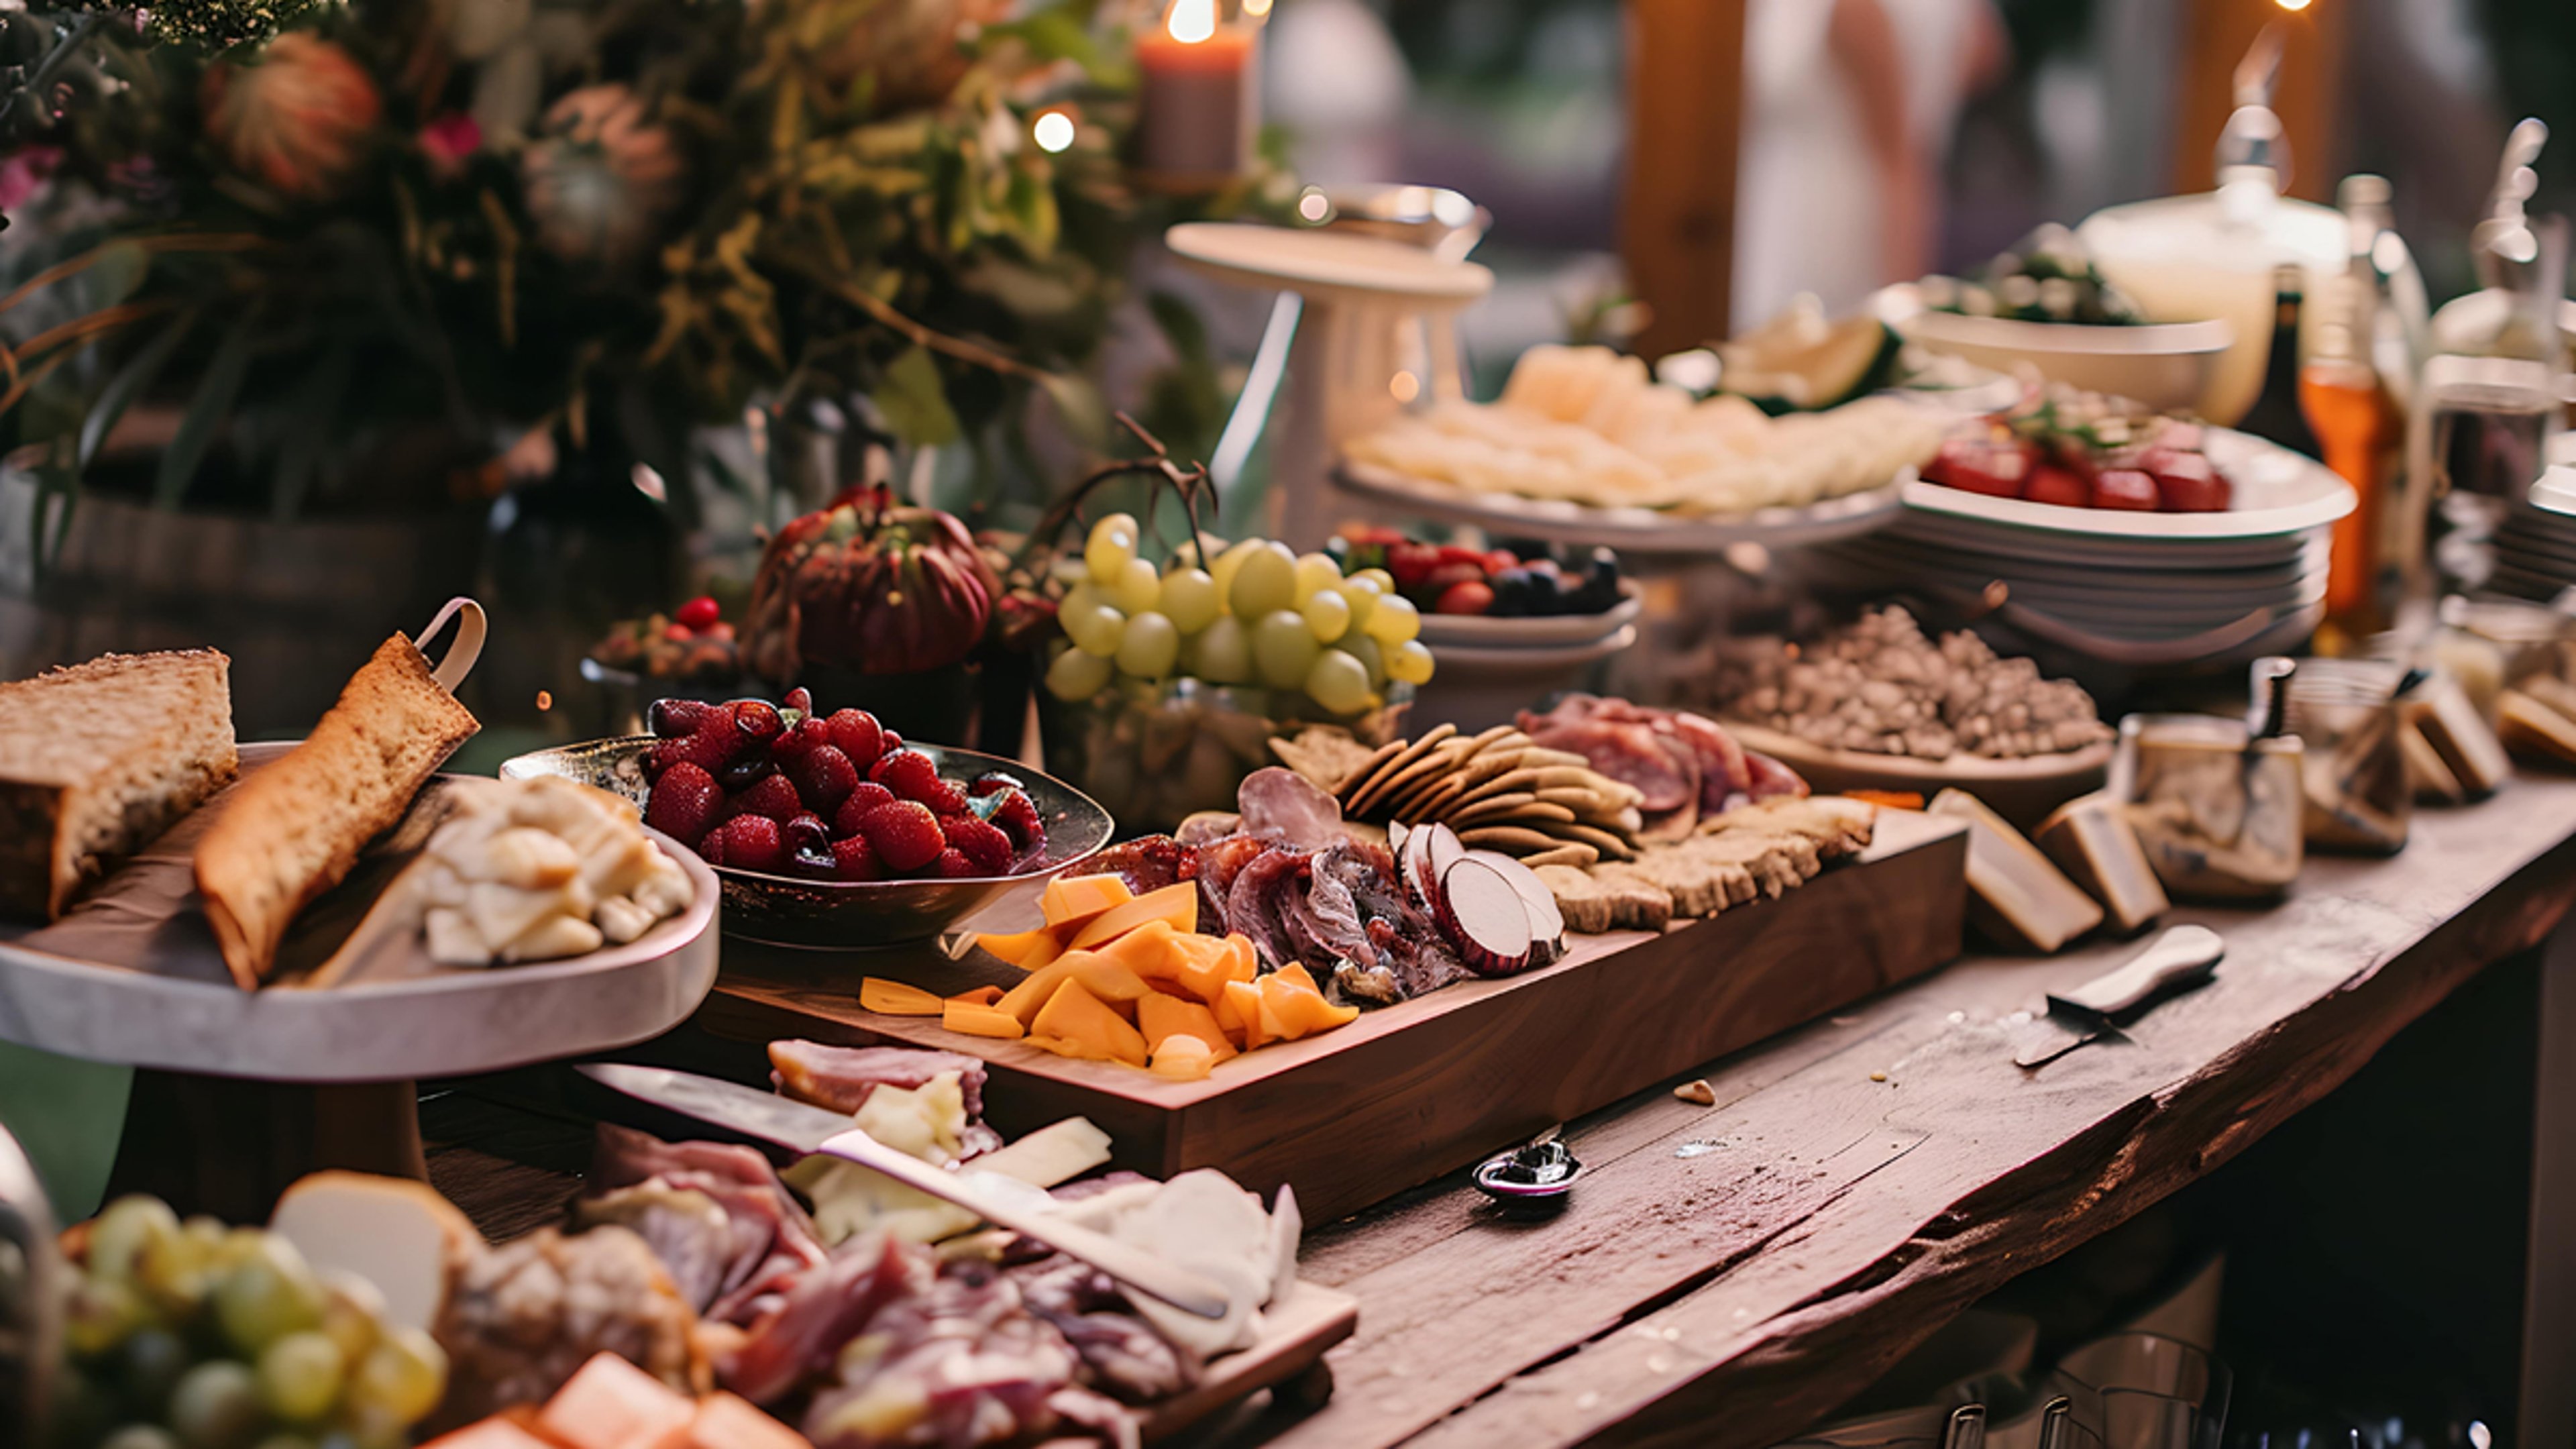
A grazing table is a large, self-serve spread of cheeses, cured meats, fruit, breads, crackers, dips, and extras arranged across an entire table so that guests can help themselves throughout a party.
The appeal is part practicality, part generosity. A well-built grazing table lets guests select, nosh, and mingle at their own pace, then come back for seconds, while you spend less time plating and more time enjoying the people who came to celebrate.
If you've built a charcuterie board before, you already know the basics. The same principles of variety, contrast, and abundance apply, just over more square footage. For inspiration you can scale up into a full spread, browse these charcuterie board ideas.
What to put on a charcuterie grazing table
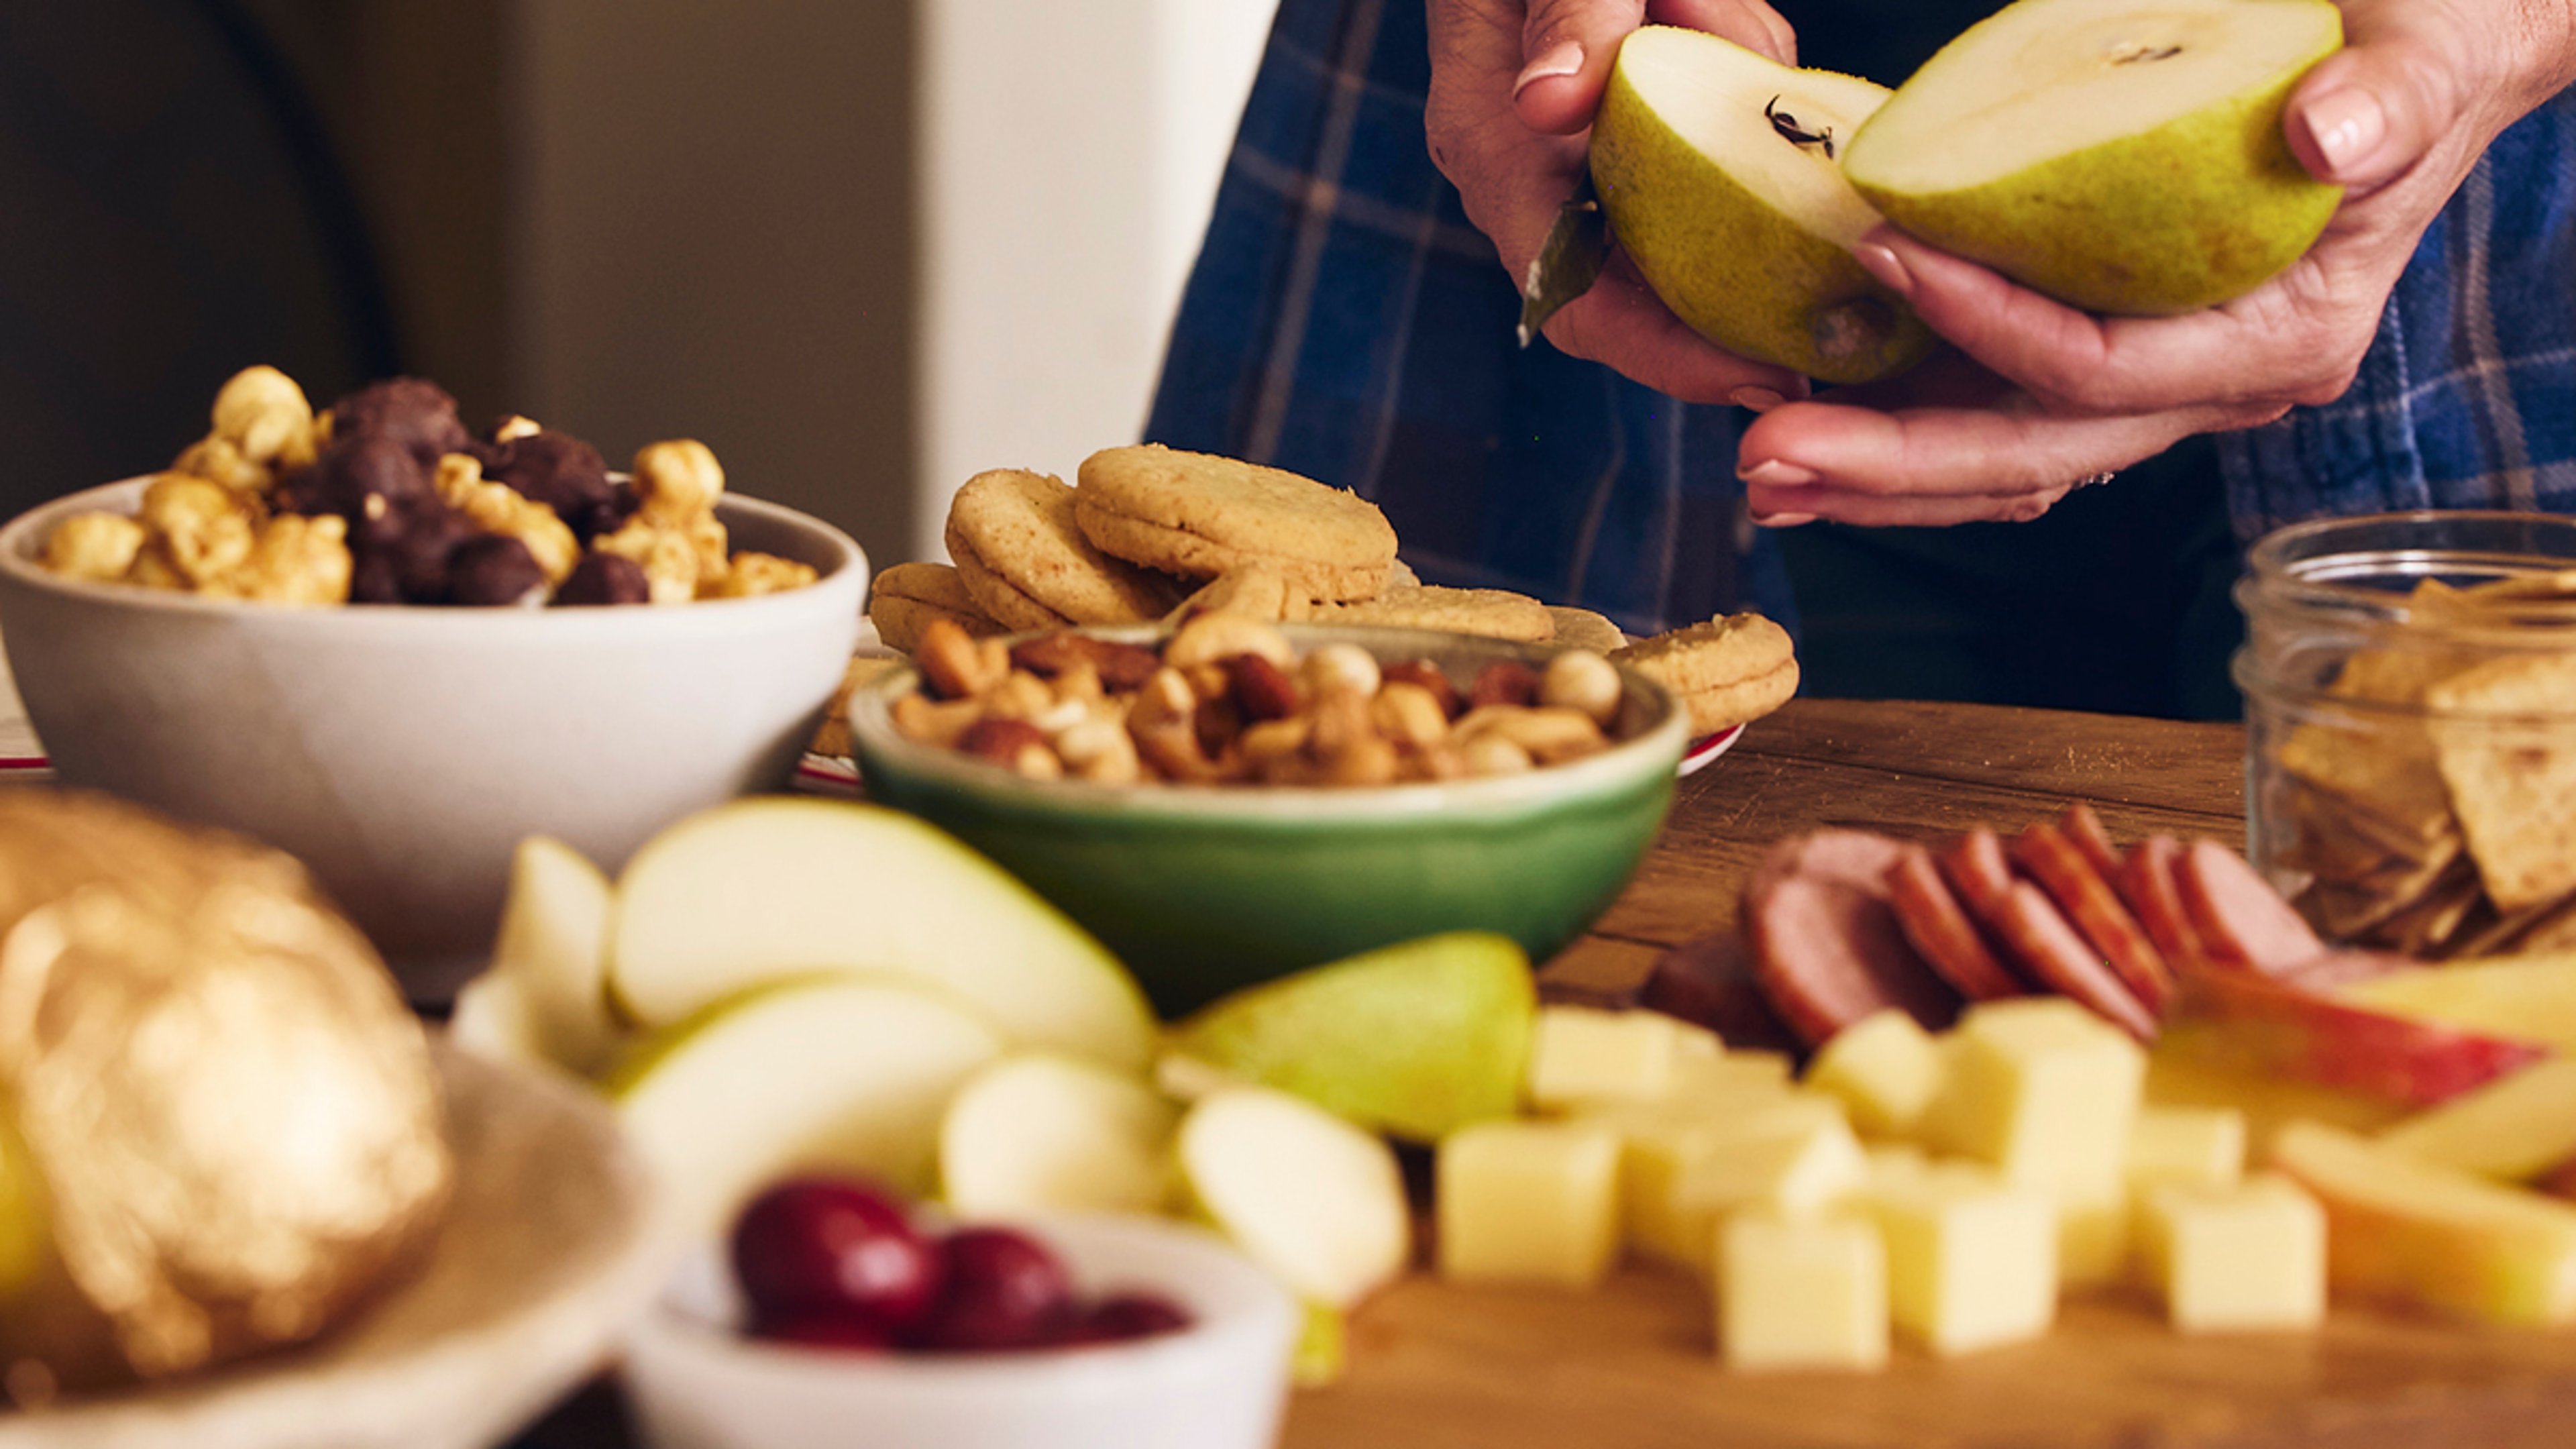
A charcuterie grazing table works best when you shop by category: cheeses, cured meats, fruit, breads and crackers, dips, and fillers. Planning around these groups keeps the table balanced and makes your shopping list easy to build.
Here's how to think about each category:
- Cheeses:
- Cured meats:
- Fruit:
- Breads and crackers:
- Dips and spreads:
- Fillers and extras:
For visual appeal, aim for contrasting colors, such as bright sliced apples alongside salami. For a table that tastes as good as it looks, pair sweet with salty and soft with crunchy. A slice of ripe pear beside a salty cured meat or a creamy cheese beside a crisp cracker gives every bite a reason to exist.
To keep your grazing table within budget, prioritize a few ingredients that make each bite memorable: one or two standout cheeses, quality nuts, a showstopping salsa. Then round out the table with seasonal fruit and simple sliced breads.
How much food you need for 10, 25, or 50 guests
If your grazing table serves as an appetizer, plan about 2–3 ounces of cheese and meat combined per person. Double that if the table replaces a meal. Starting from that per-person amount makes it easy to scale for any guest count.
Portioning is where many hosts get stuck, especially for larger events. Use this chart as a starting point for the combined cheese and meat portion of an appetizer-style table:
Guest count | Cheese and meat (appetizer) | If the table replaces a meal |
|---|---|---|
10 guests | about 20–30 oz (1 lb 4 oz–1 lb 14 oz) | about 2 lb 8 oz–3 lb 12 oz |
25 guests | about 50–75 oz (3 lb 2 oz –4 lb 11 oz) | about 6 lb 4 oz–9 lb 6 oz |
50 guests | about 100–150 oz (6 lb 4 oz–9 lb 6 oz) | about 12 lb 8 oz–18 lb 12 oz |
Once your cheese and meat are set, build out the other categories to match. Fruit, breads, crackers, and fillers stretch your spread and keep the table looking full, which is especially important when feeding a crowd.
Scale your layout along with your quantities. A table for 10 might feature a single cluster of cheeses with meats and fruit radiating outward. For 25 guests, repeat that cluster in two zones so that people don't crowd one end. For 50, create several repeating zones with duplicate dips and cheeses, enabling every guest to reach a little of everything without waiting in line.
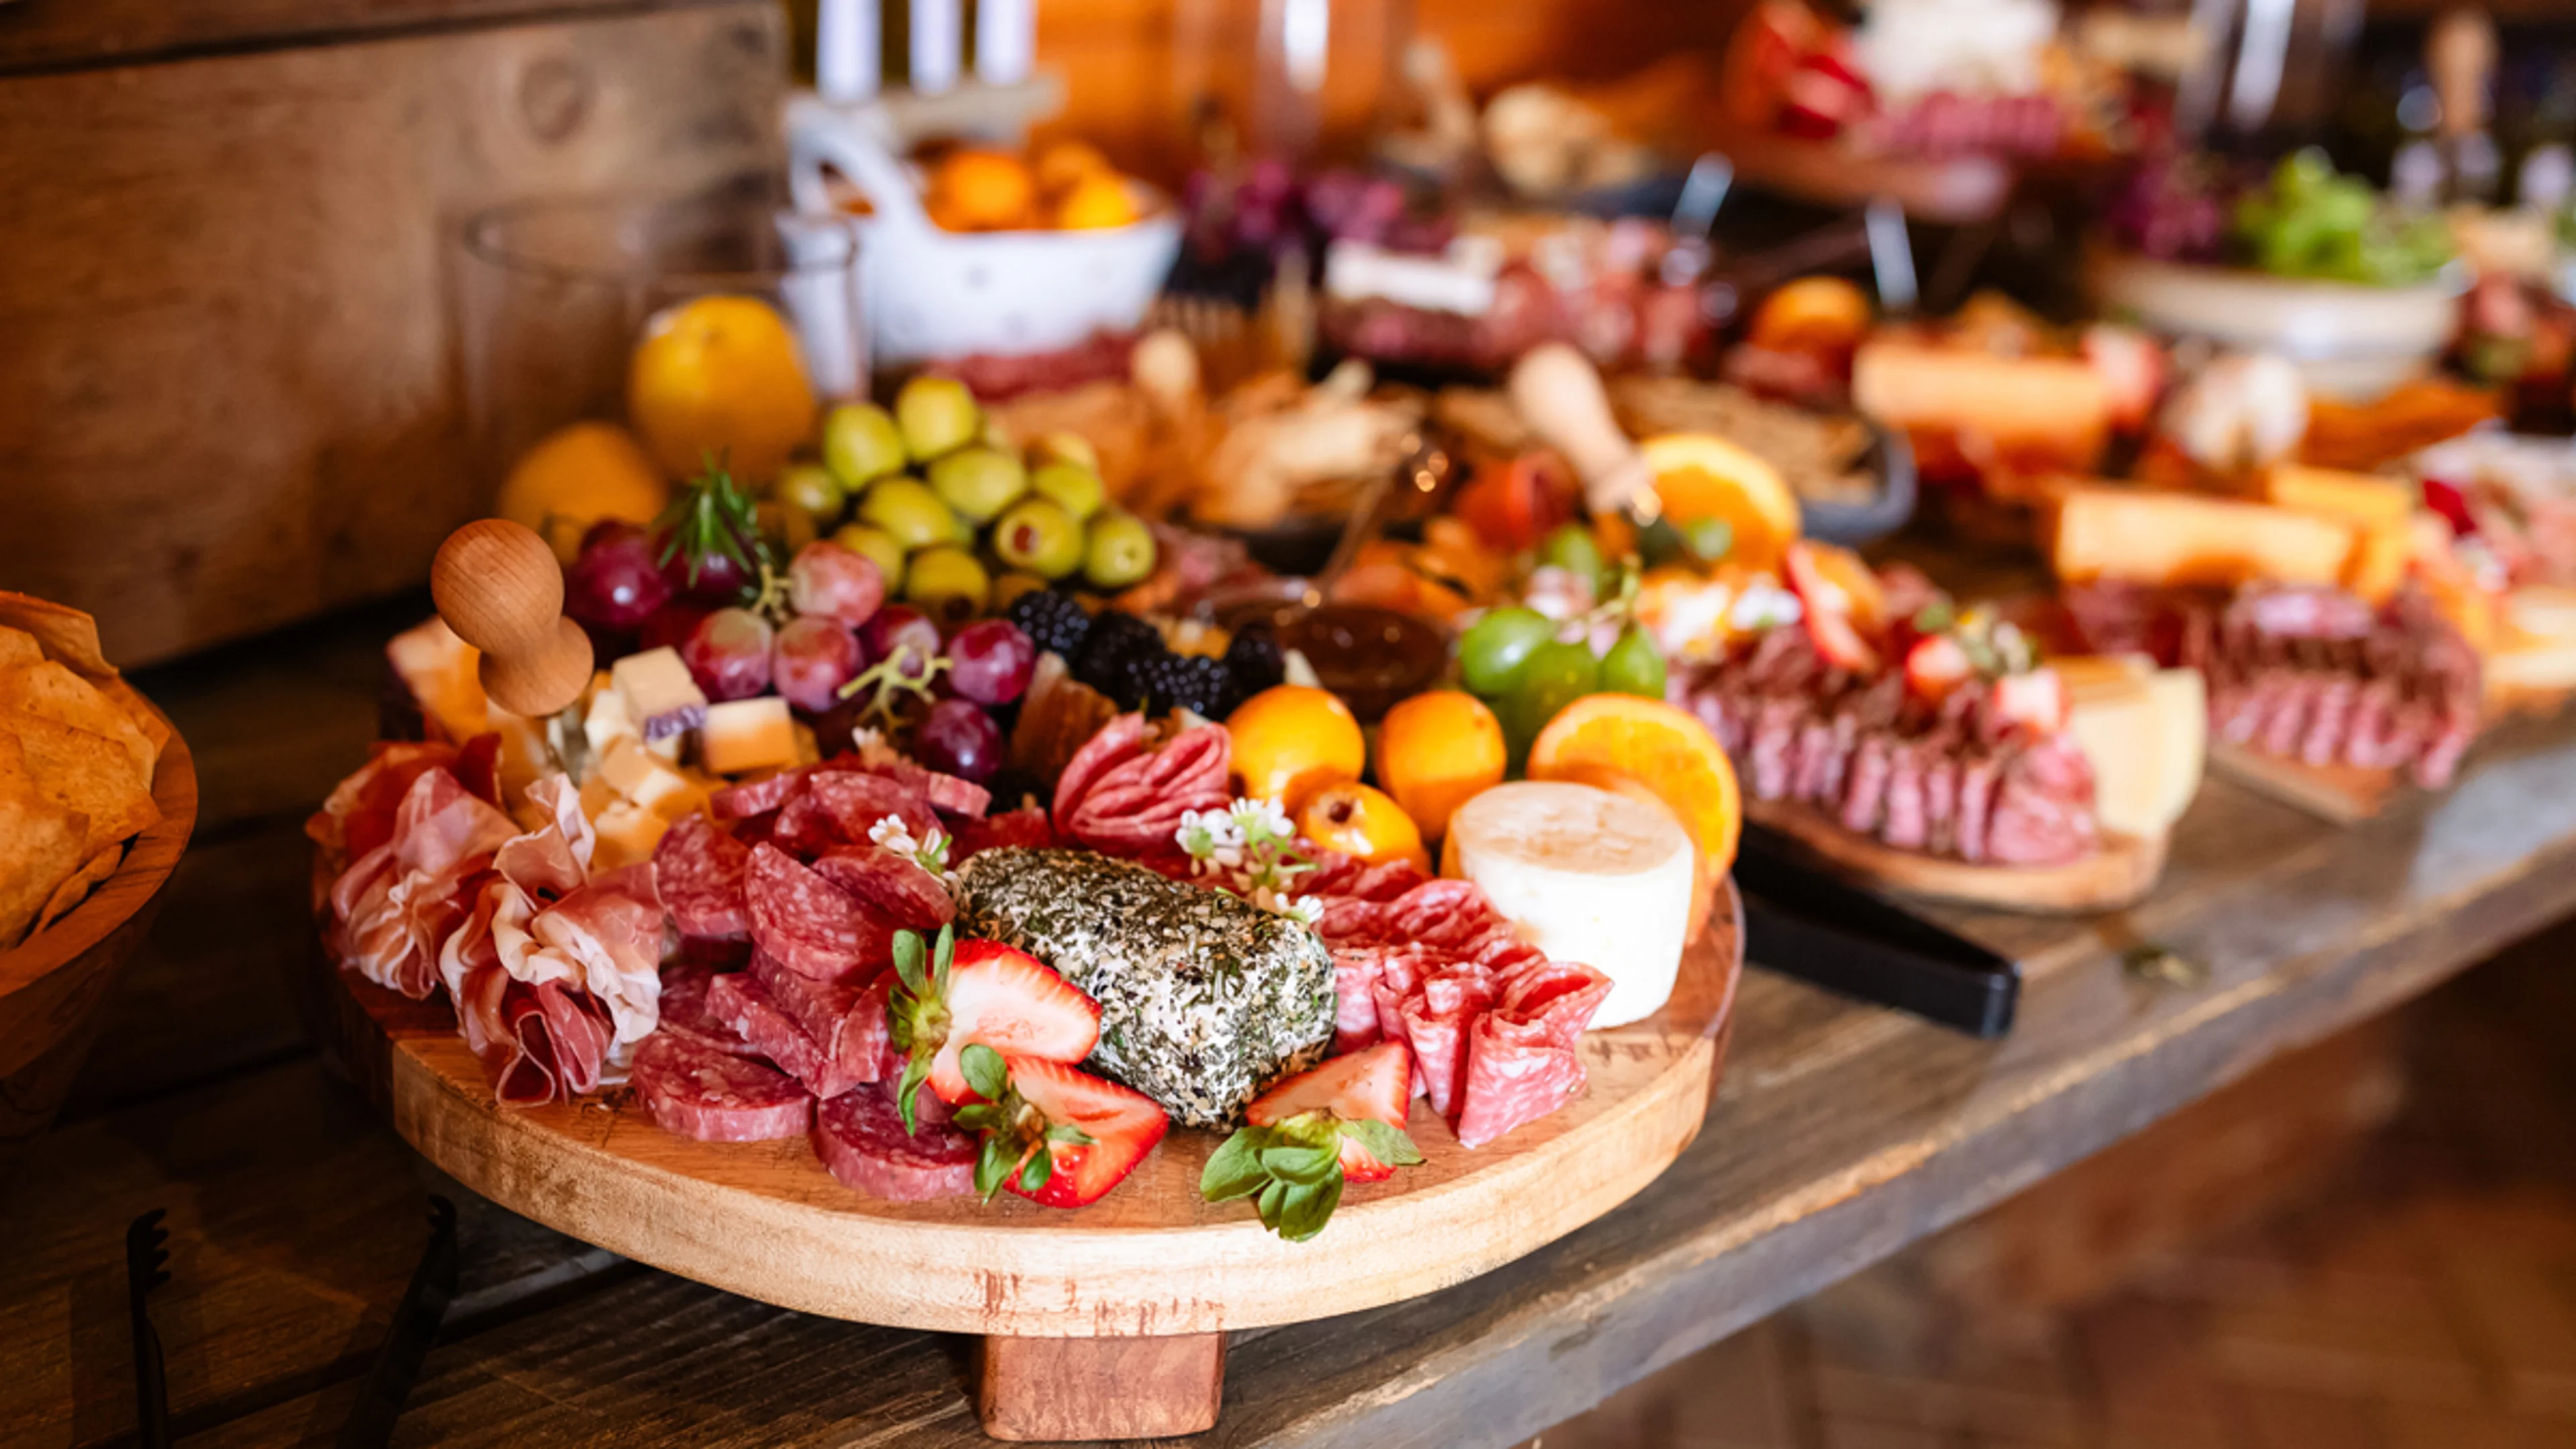
How to make a grazing table, step by step
Learning how to make a grazing table comes down to six steps: plan, prep, add height, anchor, place large items first, and fill the gaps. Work in that order and the table practically builds itself.
1. Plan your surface and layout. Start with the table itself. A long dining table or kitchen table gives you the most room for a crowd, while a round table works beautifully for a centered, radiating layout. Even a small table can allow for a generous spread if you build upward. Protect your tabletop with parchment paper, a runner, or large boards, and keep your table setting simple, with plates, napkins, and utensils at one end so guests know where to begin.
Sketch a quick layout before you shop. Have cheeses and dips form a few anchor points spaced evenly along the table, with meats and breads flowing outward from those anchors. Fruit will add bursts of color between them, and tuck fillers into every remaining gap.
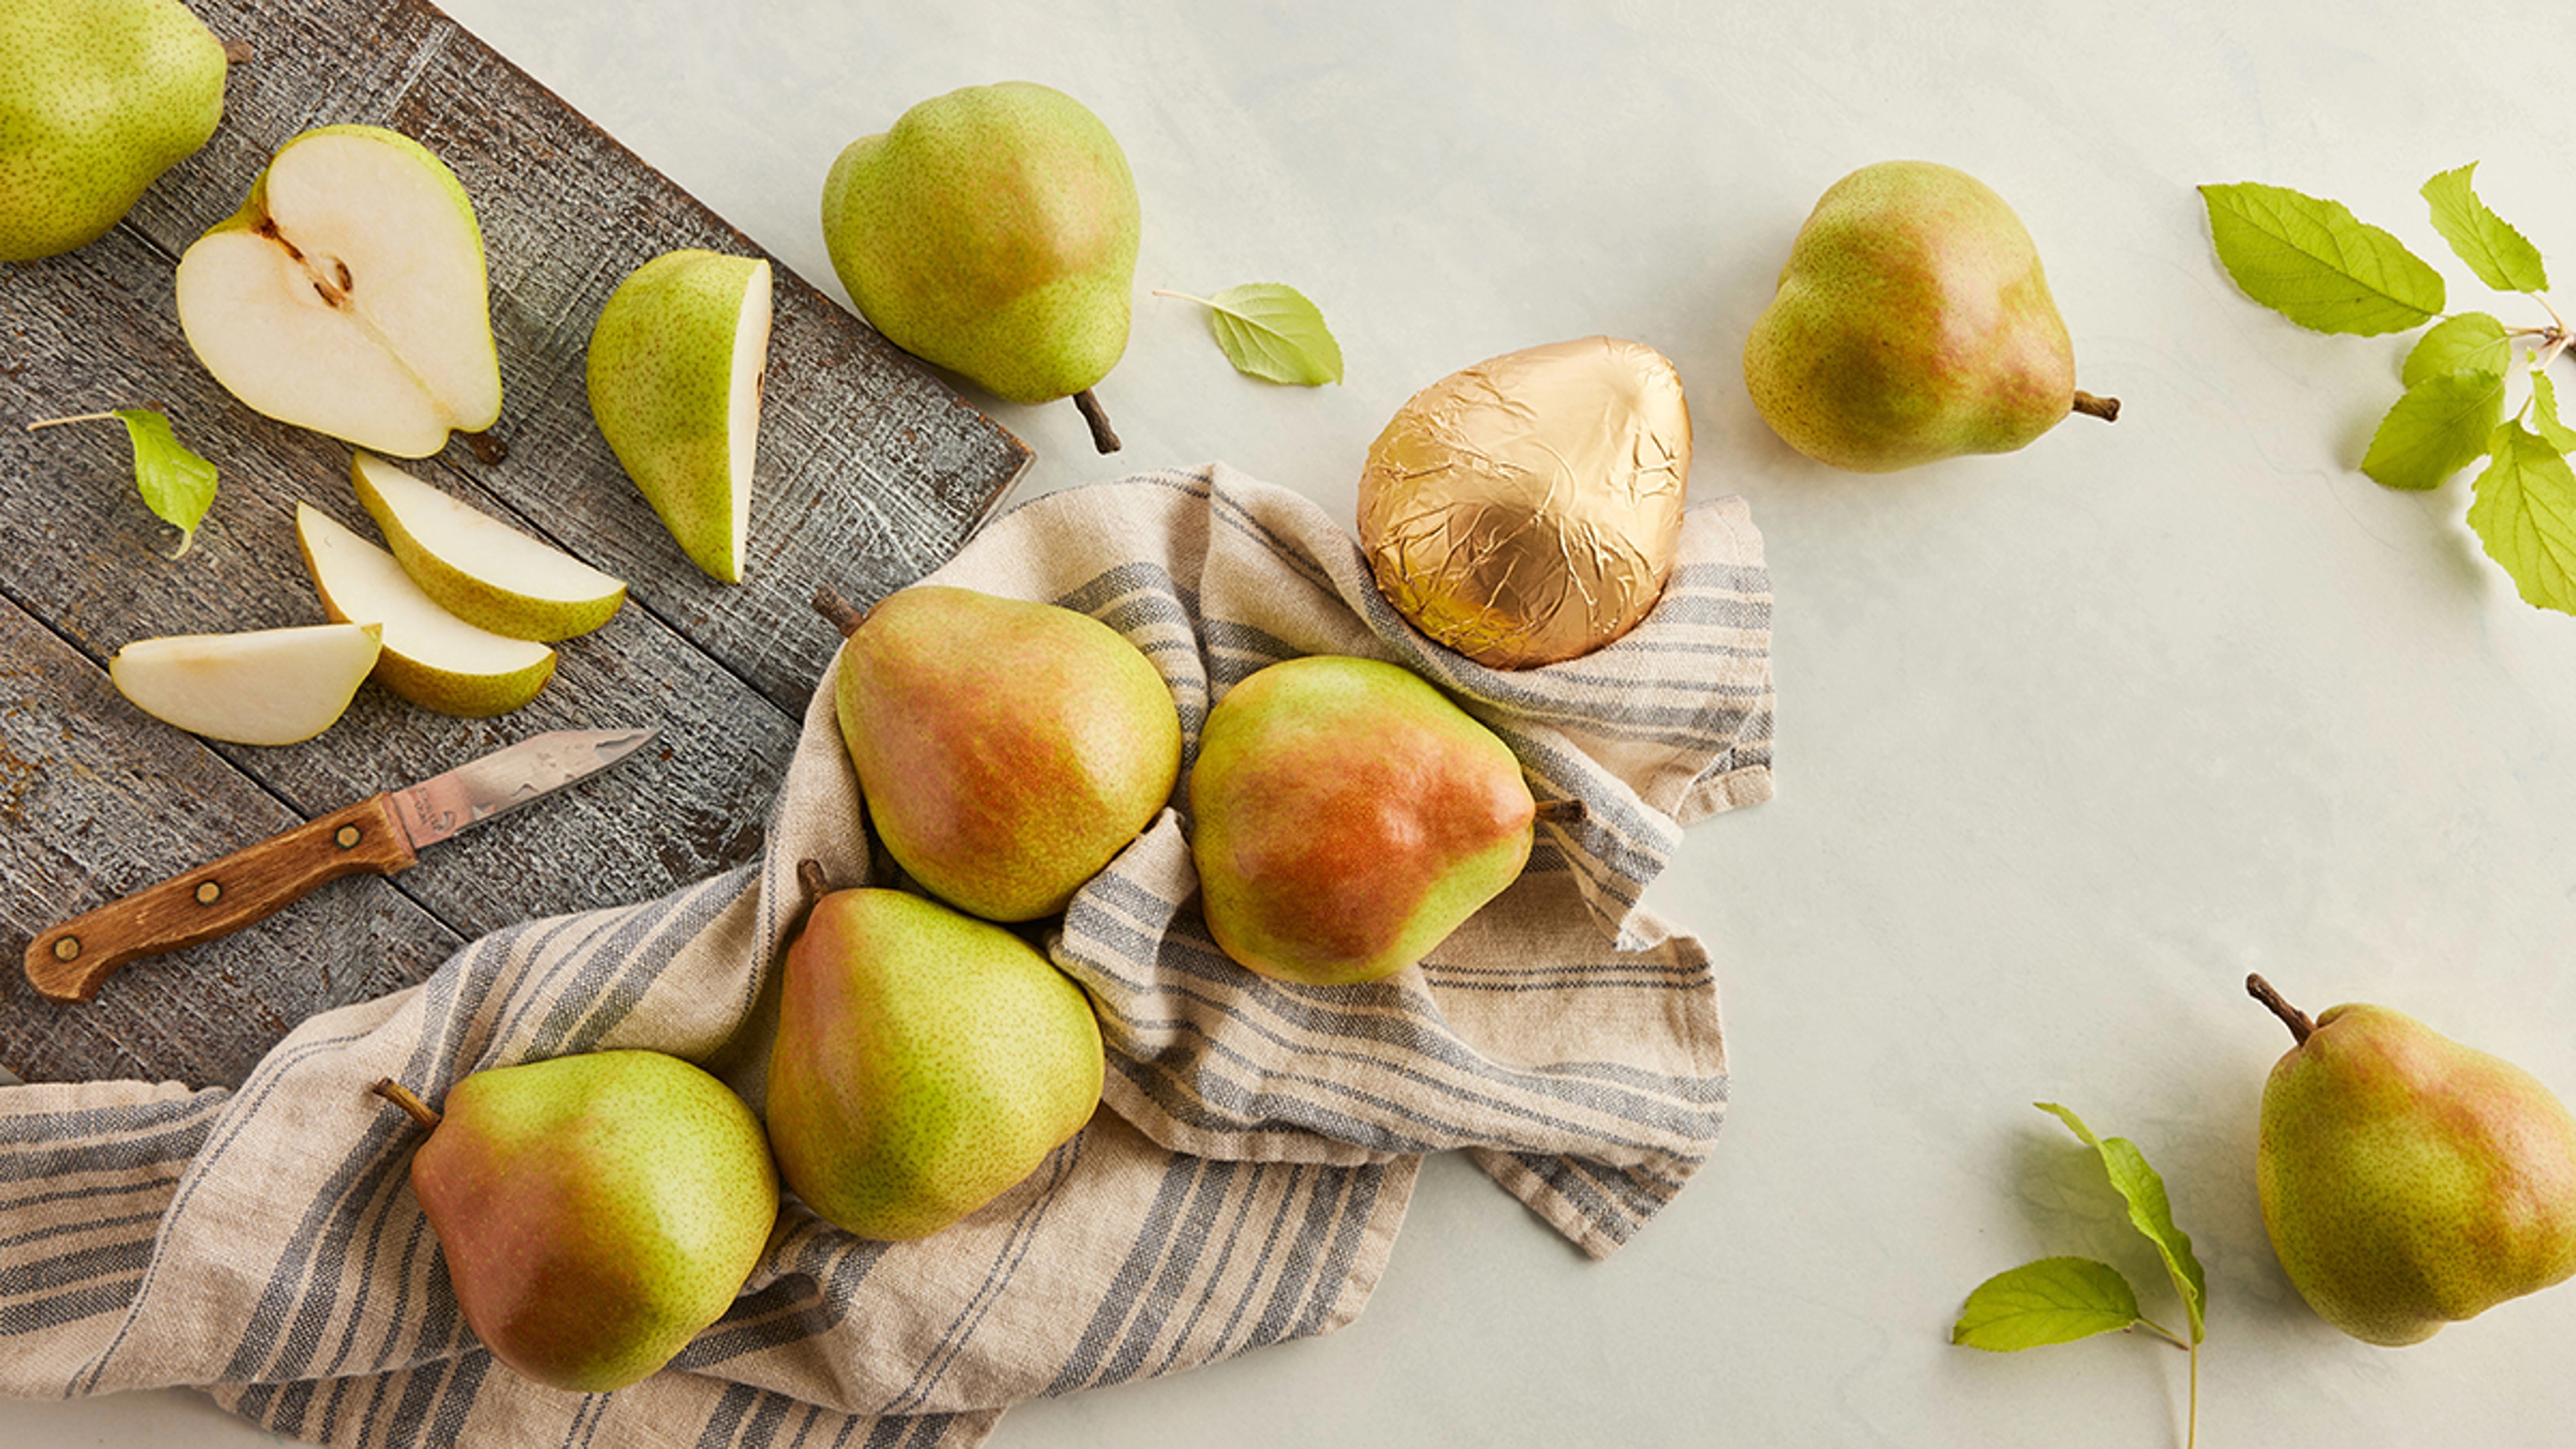
2. Prep your ingredients. Firm cheeses, dips, and shelf-stable items can be portioned and stored a day ahead, giving you less to do on party day. Because pears and other sliced fruit brown quickly, cut them close to serving time rather than the night before. Our guide on how to cut pears will ensure you create eye-catching slices every time.
3. Add height. Before any food goes down, arrange cake stands, small crates, upside-down bowls draped with cloth, or tiered trays across the table. Varying the height of the offerings draws the eye across the table and makes it easier for people to help themselves.
4. Anchor with cheeses and dips. Set your cheeses first, spaced out across the surface. Place bowls of relish, dips, and bruschetta-style spreads close to the cheeses they complement. Tuck a small bowl of fruit preserves beside a soft or sharp cheese so that the pairing is obvious to guests.
5. Place the larger items. Arrange cured meats, stacks of bread, and larger pieces of fruit. Fold and fan the meats, and let breads cascade near the cheeses they pair with.
6. Fill the gaps. Finish by tucking small clusters of pretzels, dried fruit, nuts, and other treats into every empty space. This final layer creates that overflowing, abundant look guests remember. 7. Label. Use a marker and write down what each item is on parchment or butcher paper with an arrow pointing to that ingredient. If you are displaying the food on different stands and risers, consider sticking in food picks that are labeled with what each guest might enjoy.
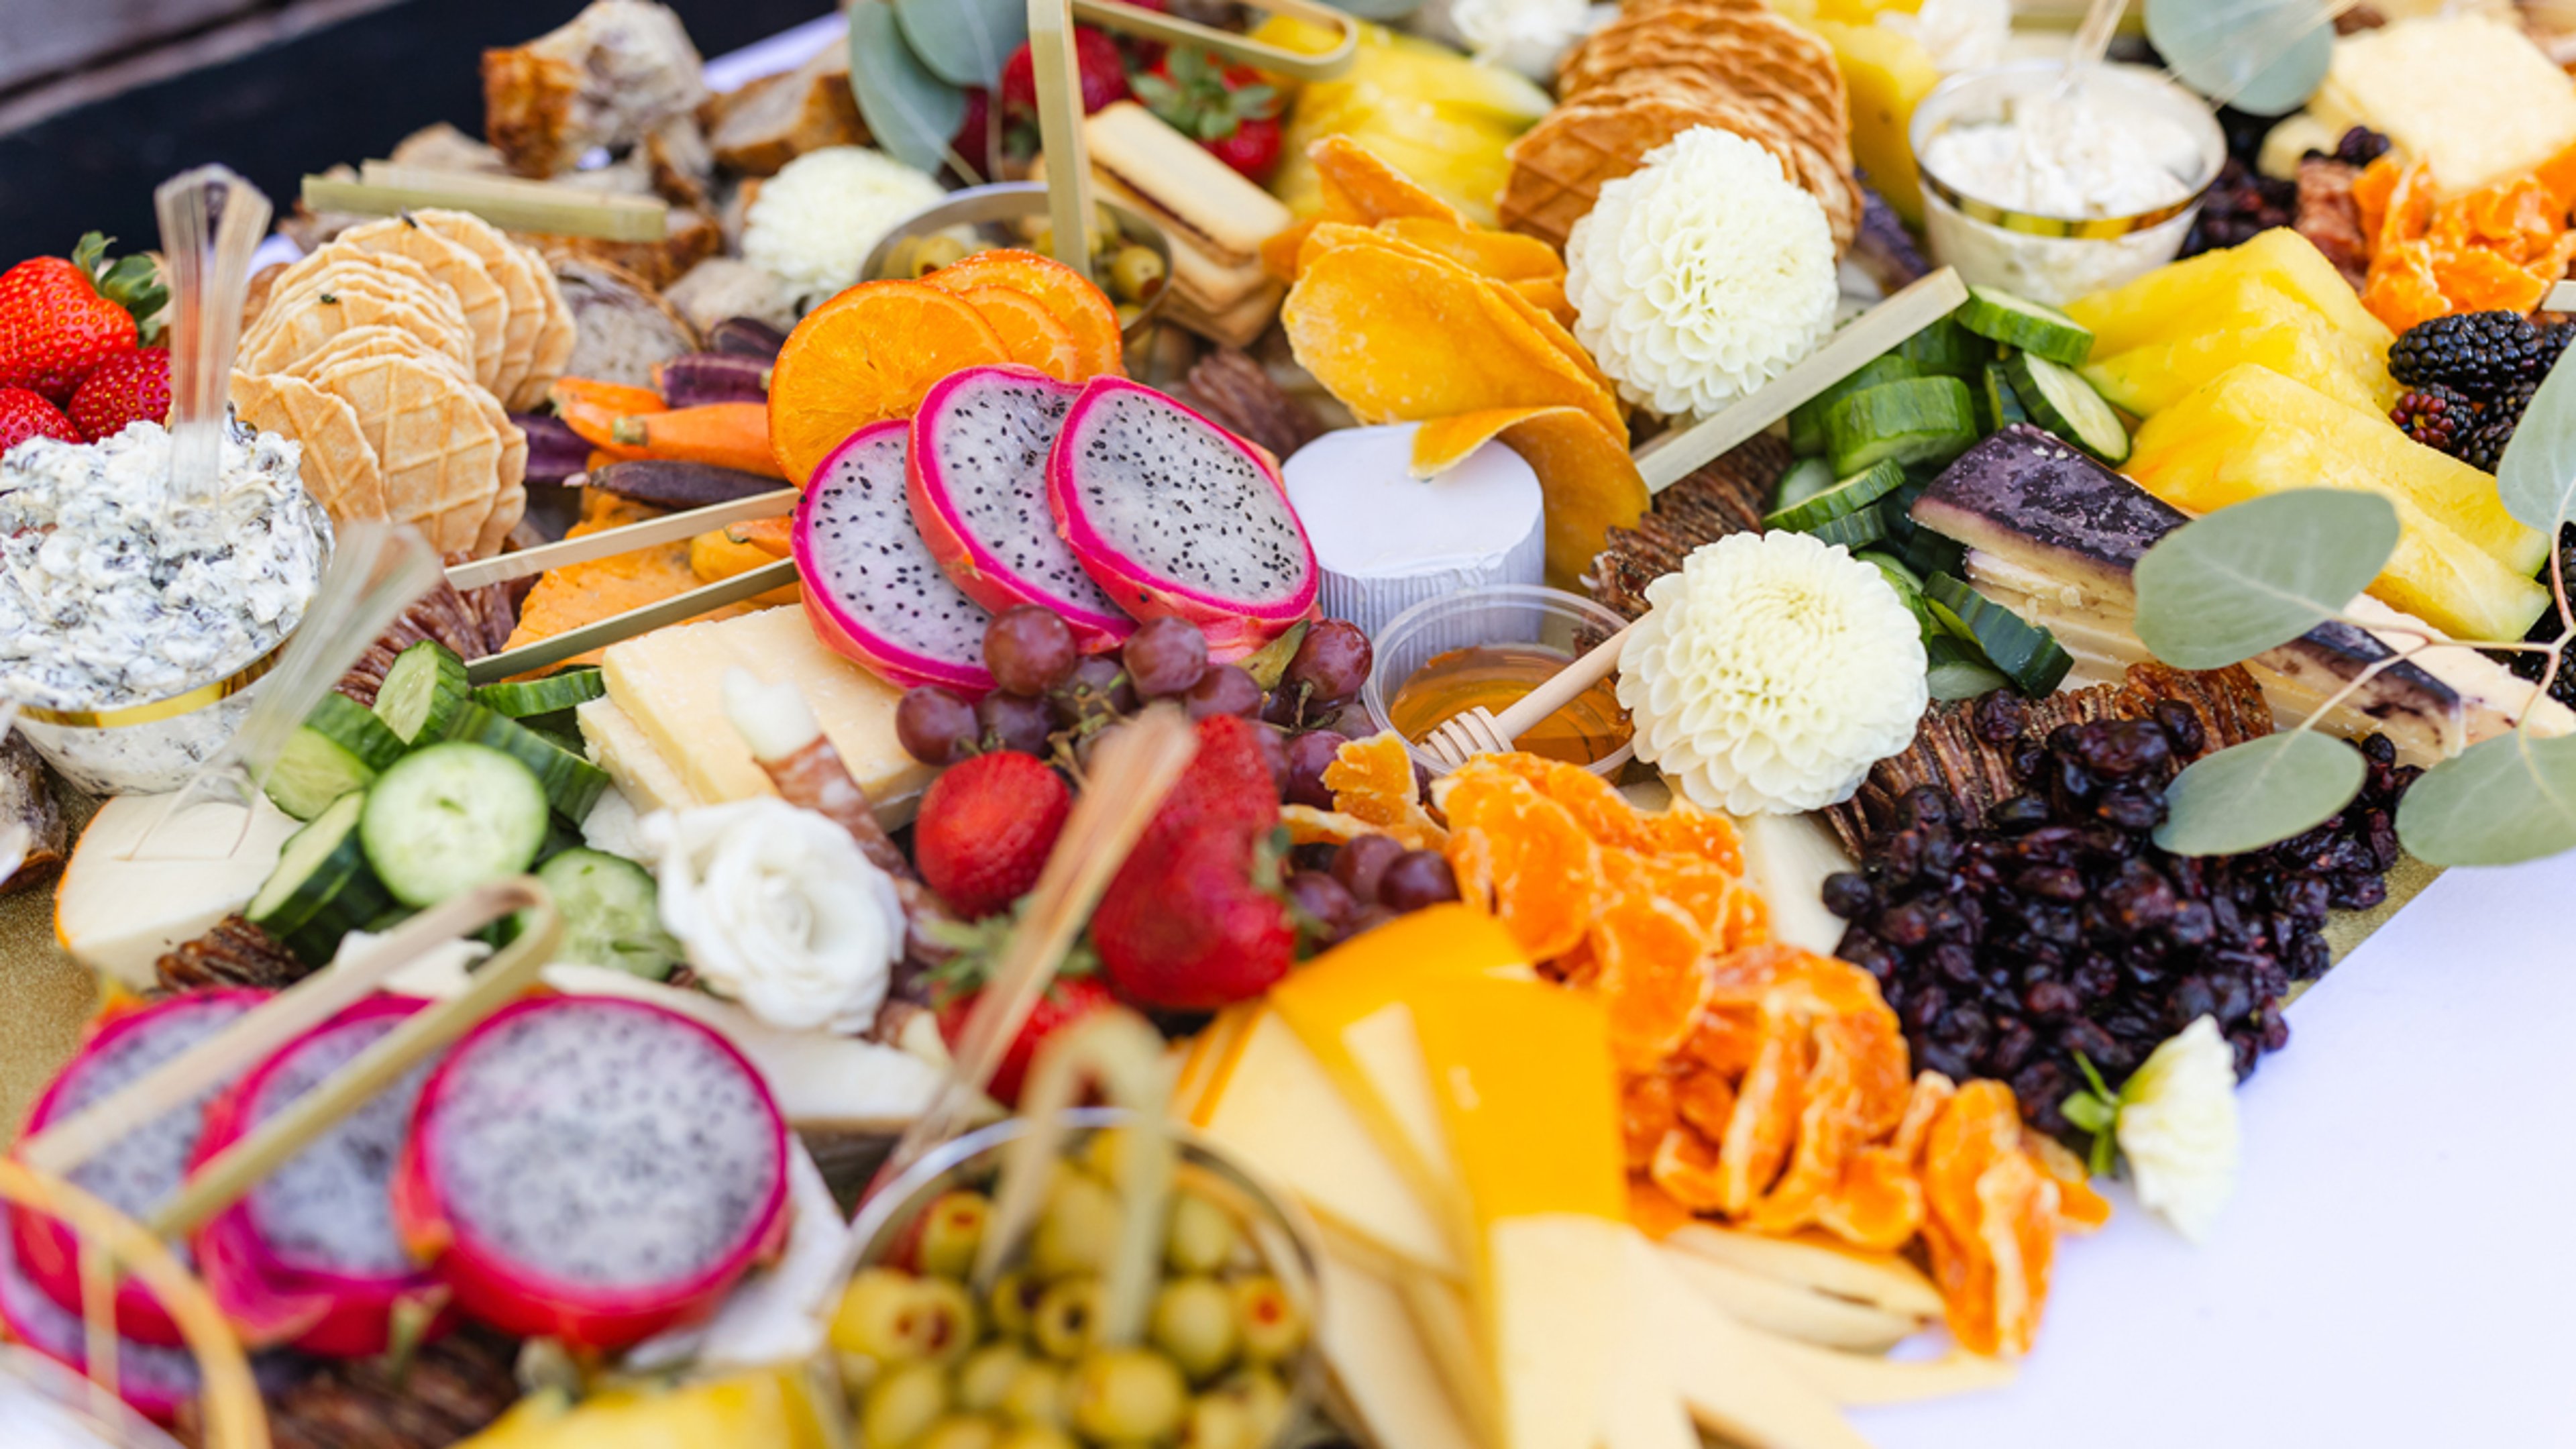
A make-ahead timeline for low-stress hosting
The easiest way to host is to spread your prep over two days so that the final assembly takes just a couple of hours. A simple timeline keeps party day about enjoying yourself, not rushing.
- 2 days before or even earlier:
- 1 day before:
- 2 hours before:
Following this rhythm means the heavy lifting is done well before the doorbell rings. When guests arrive, the table is ready, and you're ready too.
Grazing table ideas for every season and gathering
The best grazing table ideas are seasonal, letting what's fresh and fitting for the occasion guide your ingredients and colors. The same six steps work year-round; only the details change.
Fall gatherings call for warm tones and orchard fruit. Pears, nuts, and heartier cheeses make a natural autumn trio. For ready-made combinations, explore this fall charcuterie board and scale its ideas across a full table.
Holiday entertaining, from Thanksgiving to Christmas to New Year's, is when a grazing table really earns its place. When the house is full and the calendar is busier than ever, a self-serve spread lets you welcome everyone generously without cooking a separate course for each wave of guests. Add a sweet zone with cookies and other small treats to carry the table from appetizers through dessert.
Cocktail parties pair naturally with a grazing table, since guests can nibble with a drink in hand. Match the offerings to your drinks menu; chorizo and salsa are a natural match for margaritas, while lighter cheeses like Brie, mild salami, and berries complement cosmos.
Summer picnics and casual get-togethers favor bright, fresh fruit and lighter bites. Keep perishable items in smaller batches and refill as needed so that everything stays fresh in the heat.
Gather, serve, and share with Harry & David
A great grazing table is less about perfection and more about generosity: good food thoughtfully arranged and shared with people you care about. With a plan, a timeline, and a few pairing rules, you can build one with confidence for any gathering.
When pairing items, our meat and cheese baskets take out much of the guesswork. And to end the occasion on an easy but sweet note, consider our ready-made desserts.
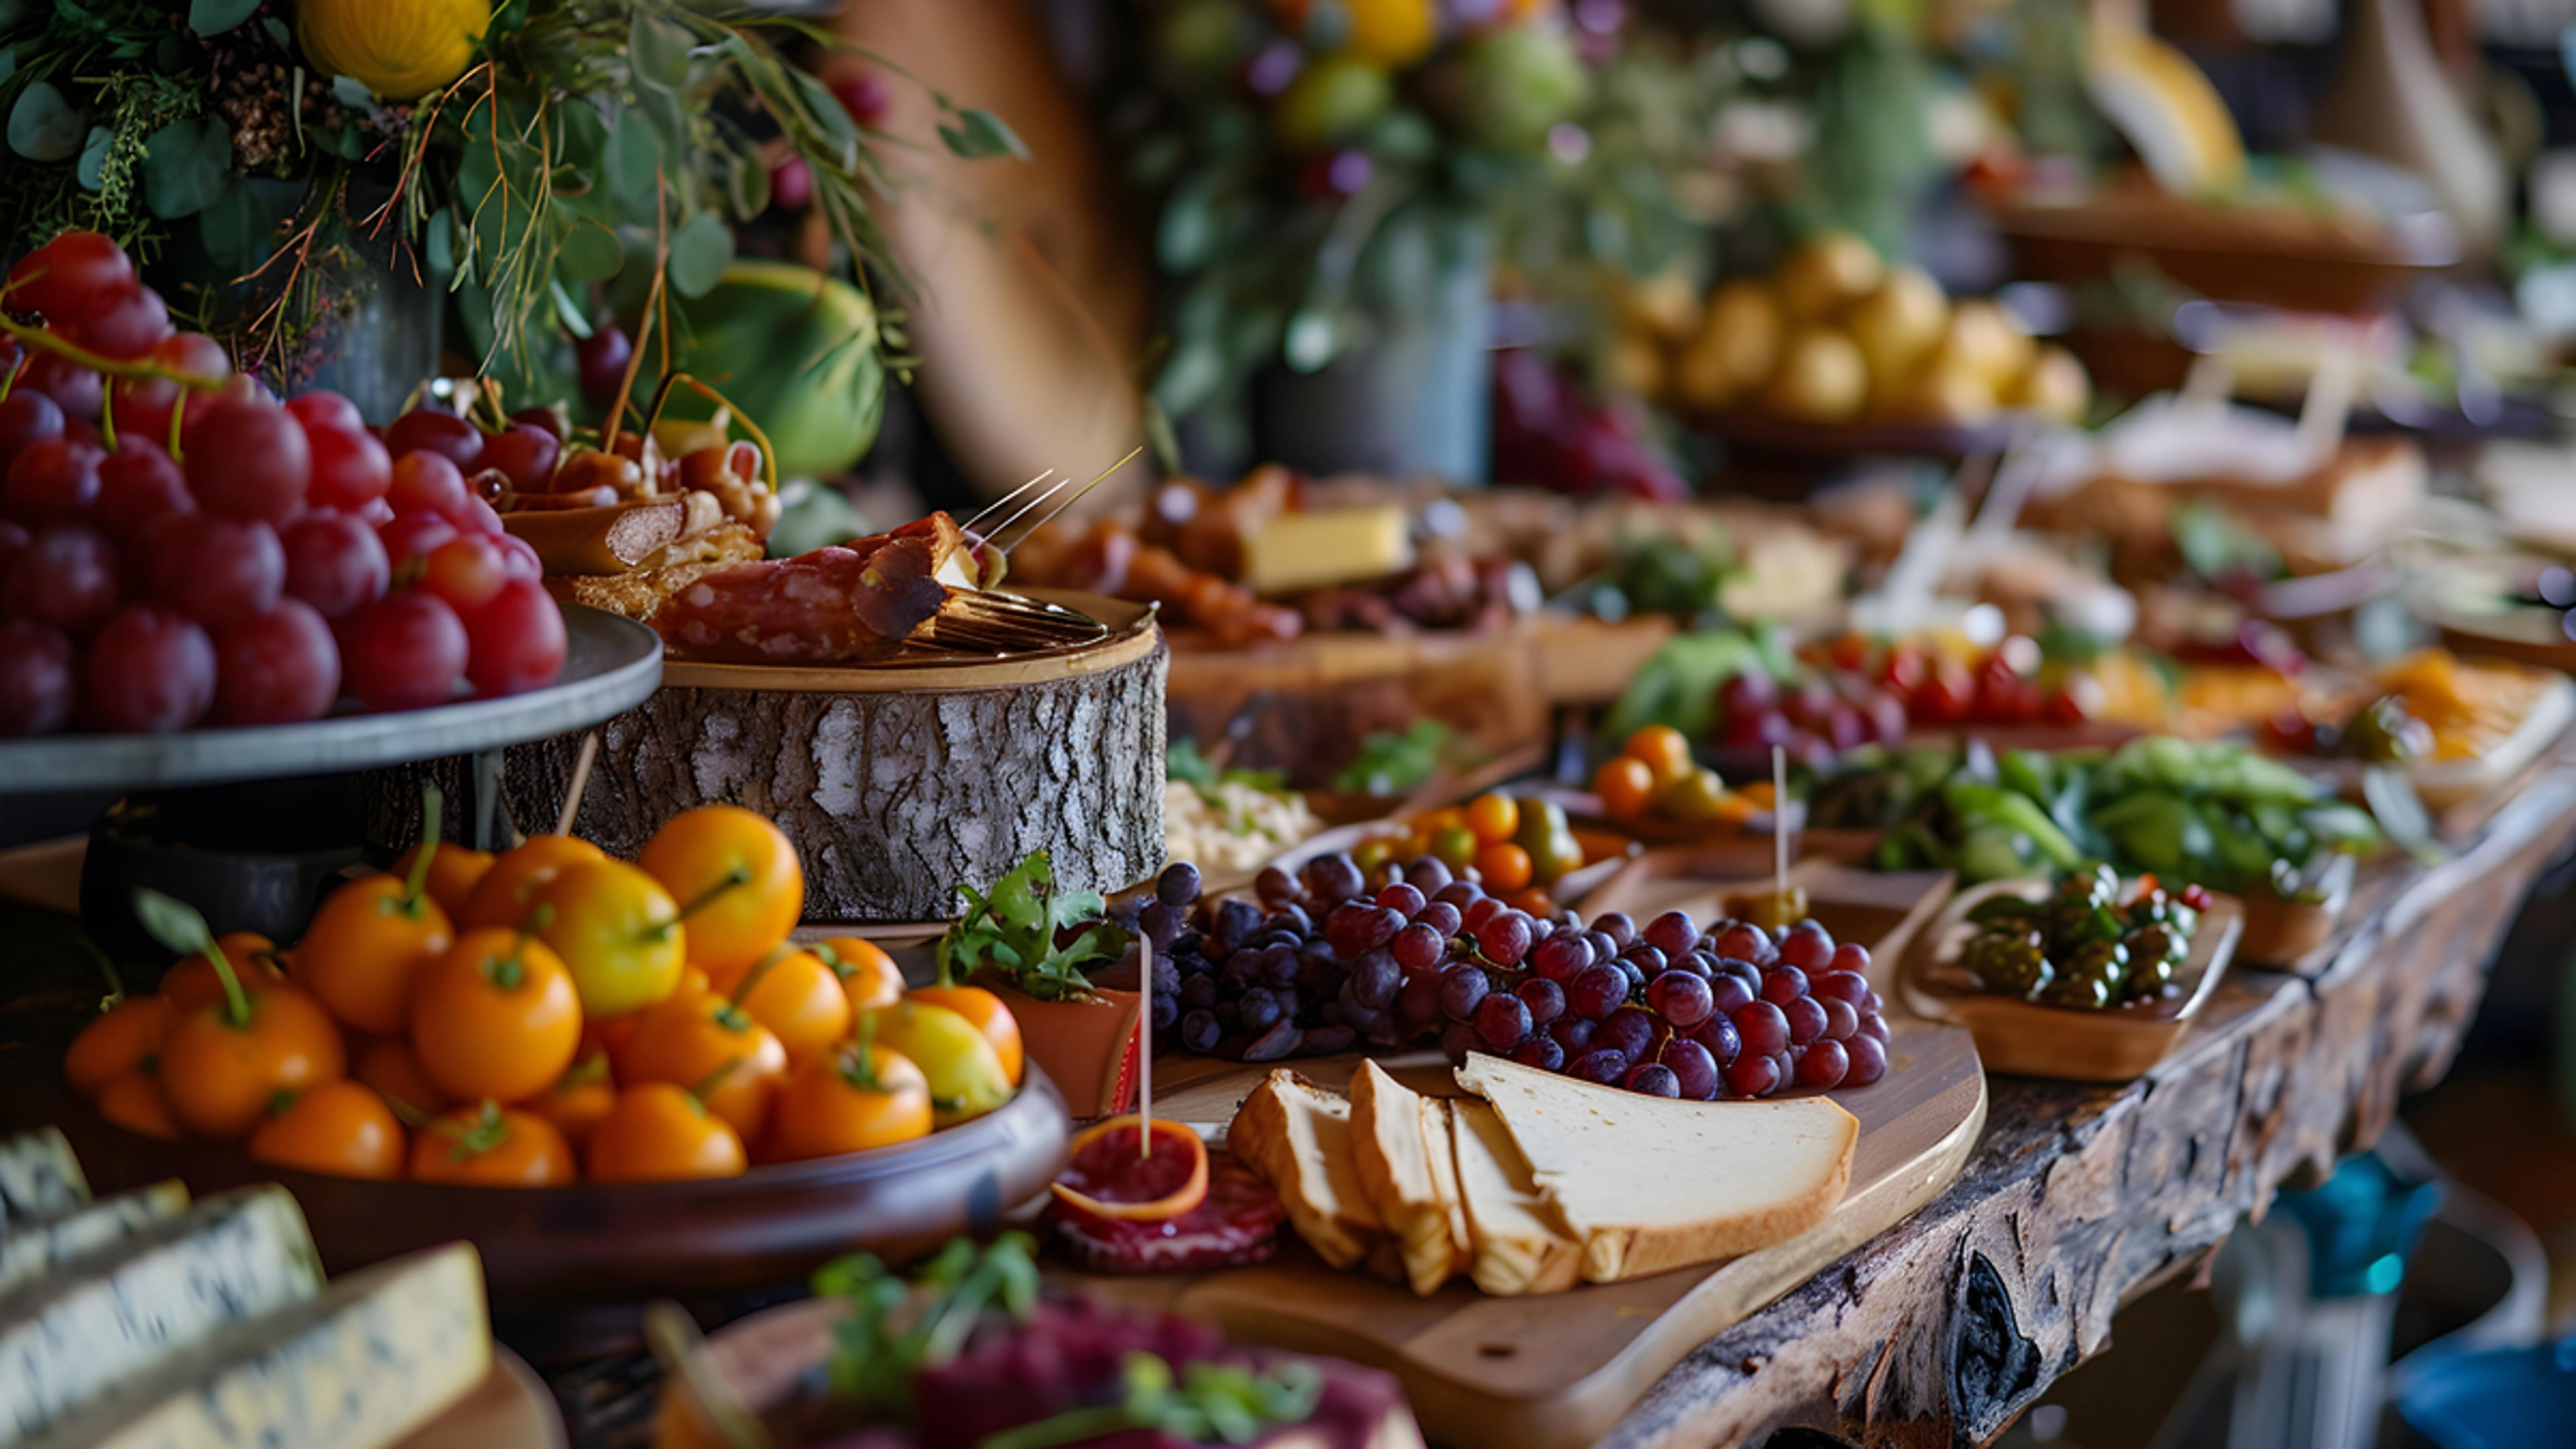
What is a grazing table?
A grazing table is a large, self-serve spread of cheeses, cured meats, fruit, breads, crackers, dips, and extras arranged across an entire table for guests to enjoy throughout a party. It works like an oversize charcuterie board and often serves as the centerpiece of a gathering.
How do you make a grazing table?
To make a grazing table, follow six steps:
- Plan your guest count, menu, and surface.
- Prep ingredients ahead of time.
- Add height with stands and bowls.
- Anchor the table with cheeses and dips.
- Set out large items such as meats, breads, and fruit.
- Fill the gaps with crackers, nuts, and small bites.
How much food do you need per person for a grazing table?
Plan about 2–3 ounces of cheese and meat combined per person when a grazing table is served as an appetizer. If the table replaces a meal, double that amount. Then add fruit, breads, and fillers to round it out.
What's the difference between a grazing table and a charcuterie board?
A charcuterie board is a smaller spread arranged on a single board, while a grazing table covers an entire table to feed a larger crowd. Both feature cheeses, meats, fruit, and crackers, but a charcuterie grazing table uses multiple zones, added height, and more fillers to create an abundant centerpiece.
How can you make a grazing table on a budget?
Make a grazing table on a budget by spending on a few standout cheeses and meats, then filling space with affordable items such as crackers, bread, and popcorn. Choose seasonal produce, which tends to look and taste its best at its peak. Adding height with bowls and stands also makes a smaller amount of food look more abundant.
AUTHOR

Since 1934, Harry & David has grown to become America’s premier choice for gourmet gifts. From our handpicked fresh fruit to our hand-packed gift baskets filled with delicious treats, we are committed to providing premium quality and excellence in every way.