6 Easy Steps to Creating the Perfect Charcuterie Board
Learn how to choose the cheeses and arrange the meats and dips. There's actually a science to it.
Feb 17, 2025
So, you said that you'd bring the cheeseboard. Not to put any pressure on you, but the cheeseboard is a big deal — it's usually the most popular dish at the party. If you're not sure where to start, I'm here to tell you it's as easy as one, two, three (and maybe a few more), and after you've done it once, you'll know how to make a charcuterie board in to time!

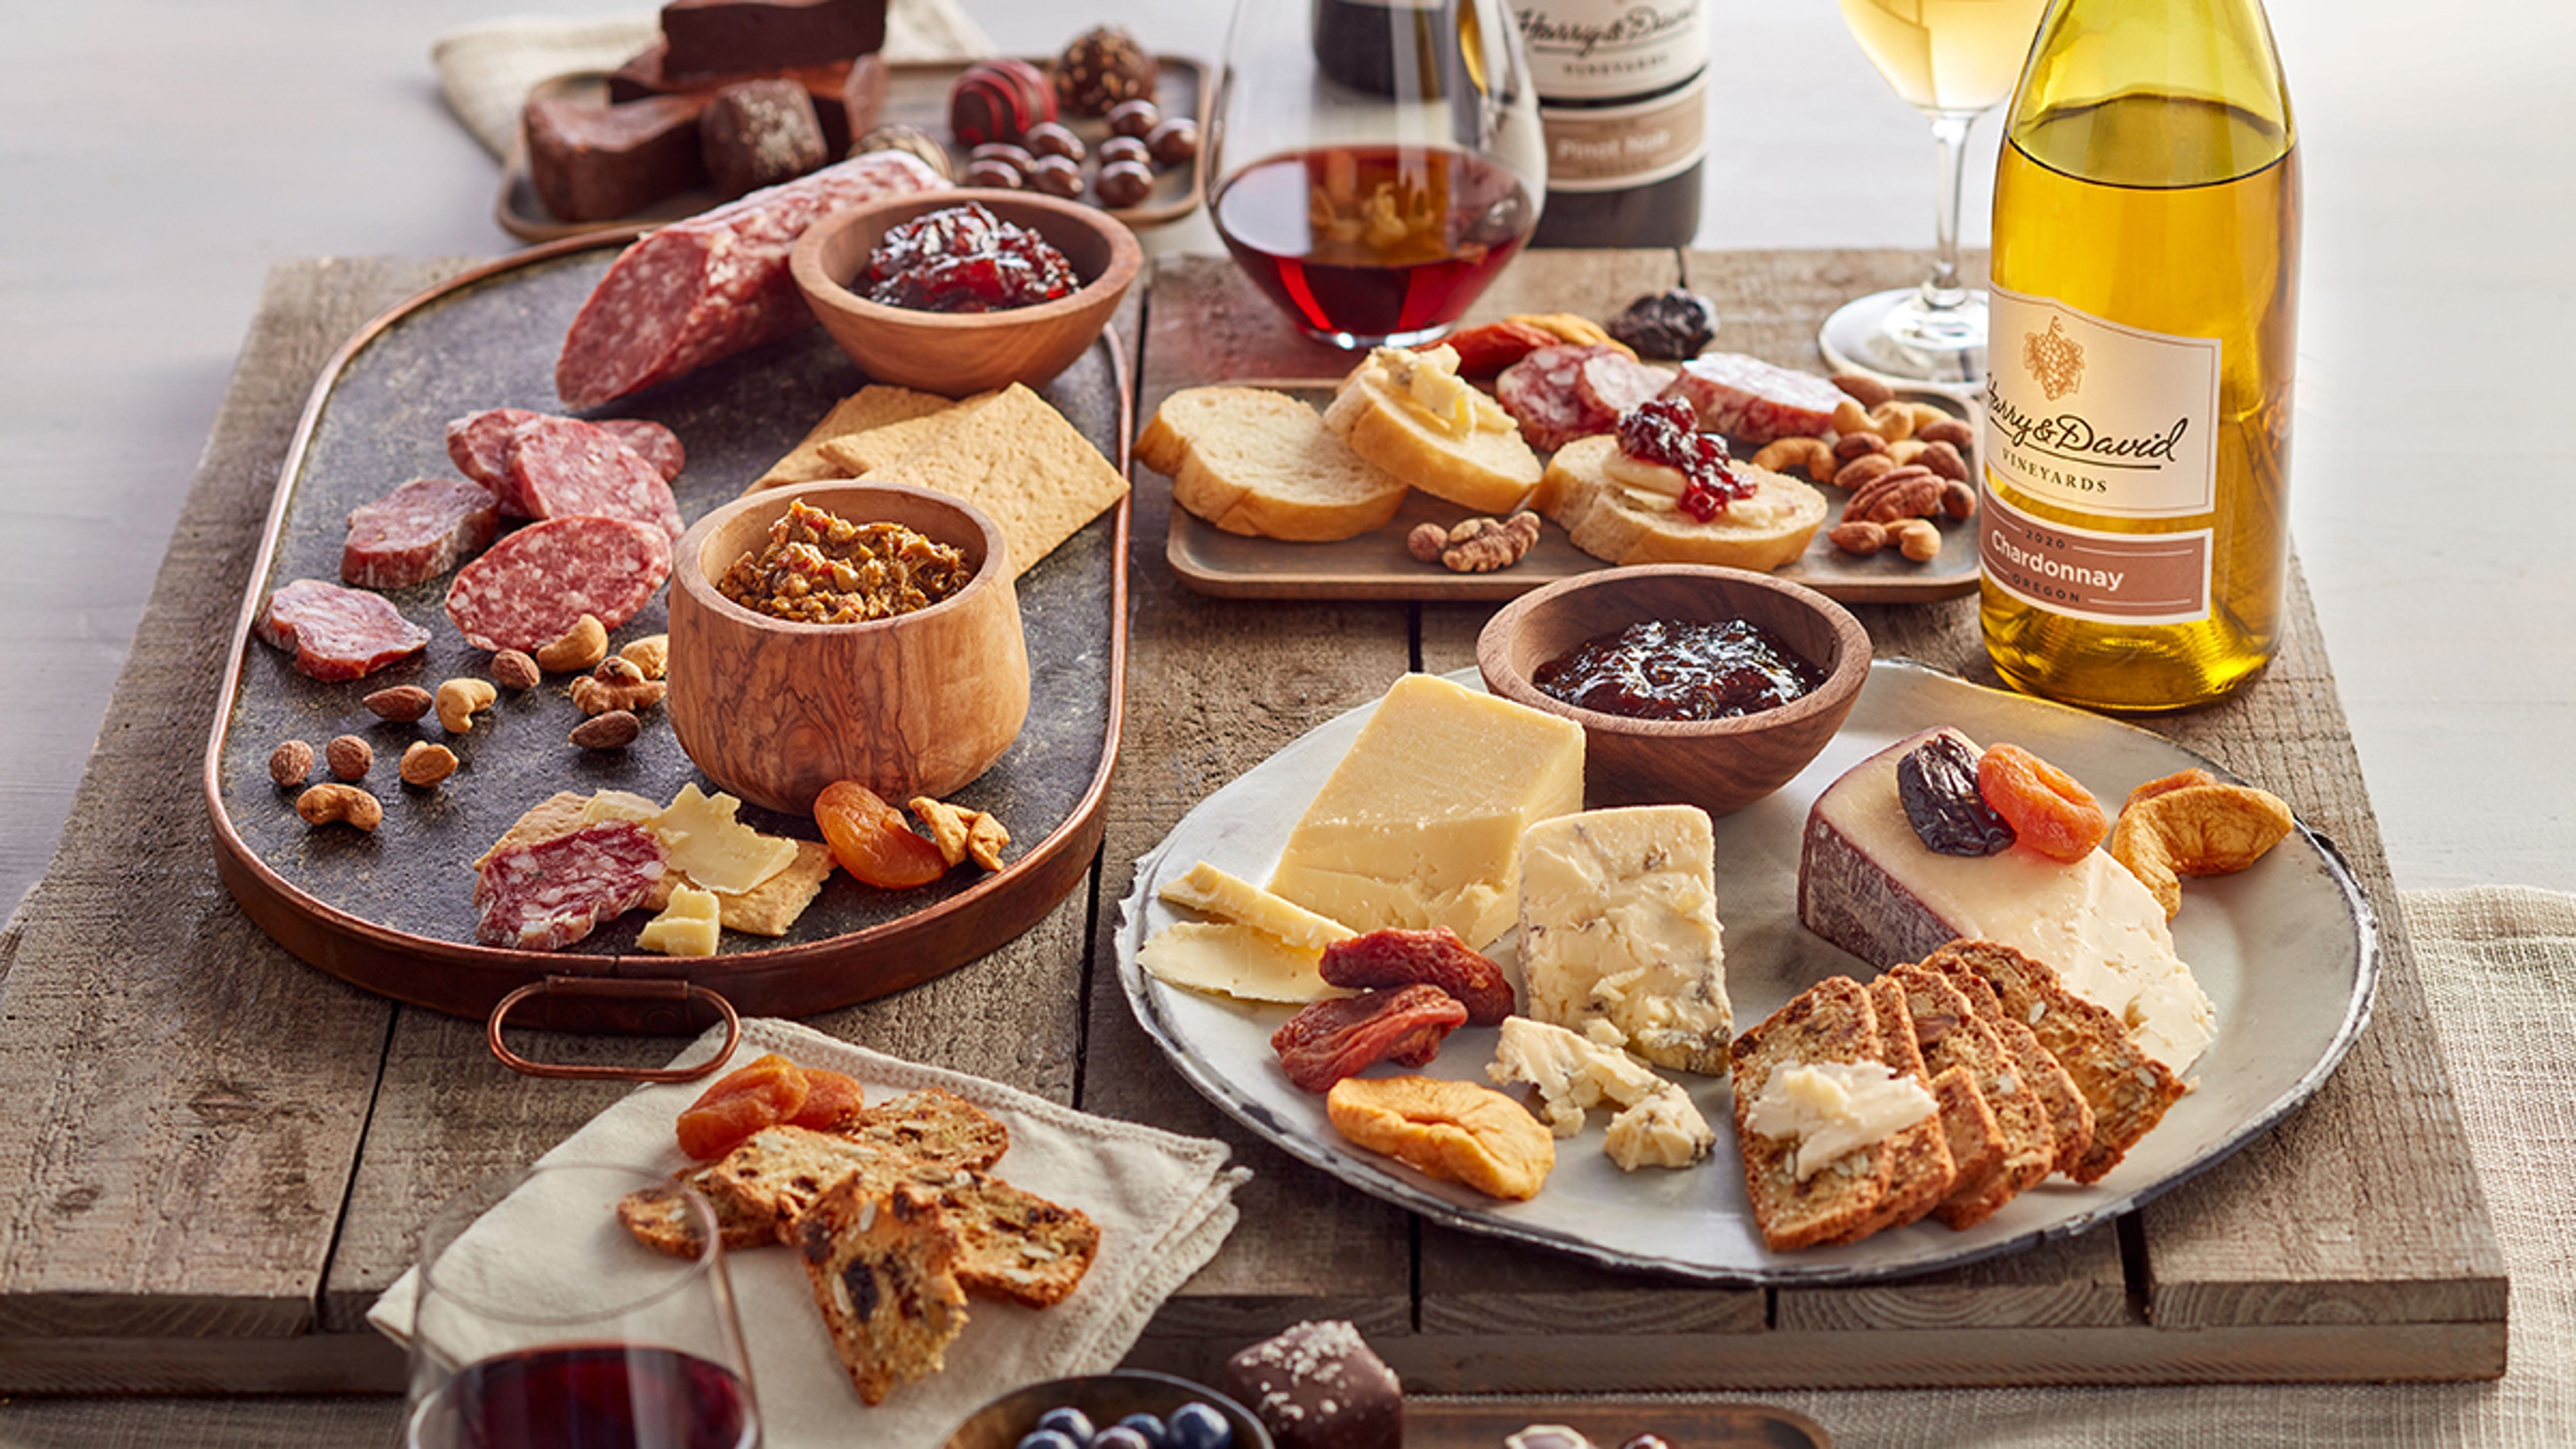
Before you start building, you first need to consider how many people you're going to feed, since that will determine how much food you need and how big your board should be. On average, you should plan to serve one to two ounces of cheese and two ounces of charcuterie per person if the board is an hors d'oeuvre. If you're serving it as the main course, you're going to want to double the amounts and serve it with plenty of carbs to round out the meal. This can be anything from crackers and fresh-baked bread to nuts and fruit, or even bite-sized snacks like pinchos.
A good rule of thumb is to include a few more types of cheeses than meats, and to scale the variety of cheeses and meats to the size of your board and your party. For a smaller gathering of four to six people, this would look like two to three cheeses and one to two meats, plus fruit, nuts, olives, crackers, jam/honey, and garnish like fresh herbs. If you're serving more people, just add more of everything!
Here's the step-by-step for how to build a charcuterie board.
Step 1: Ramekins/Small bowls

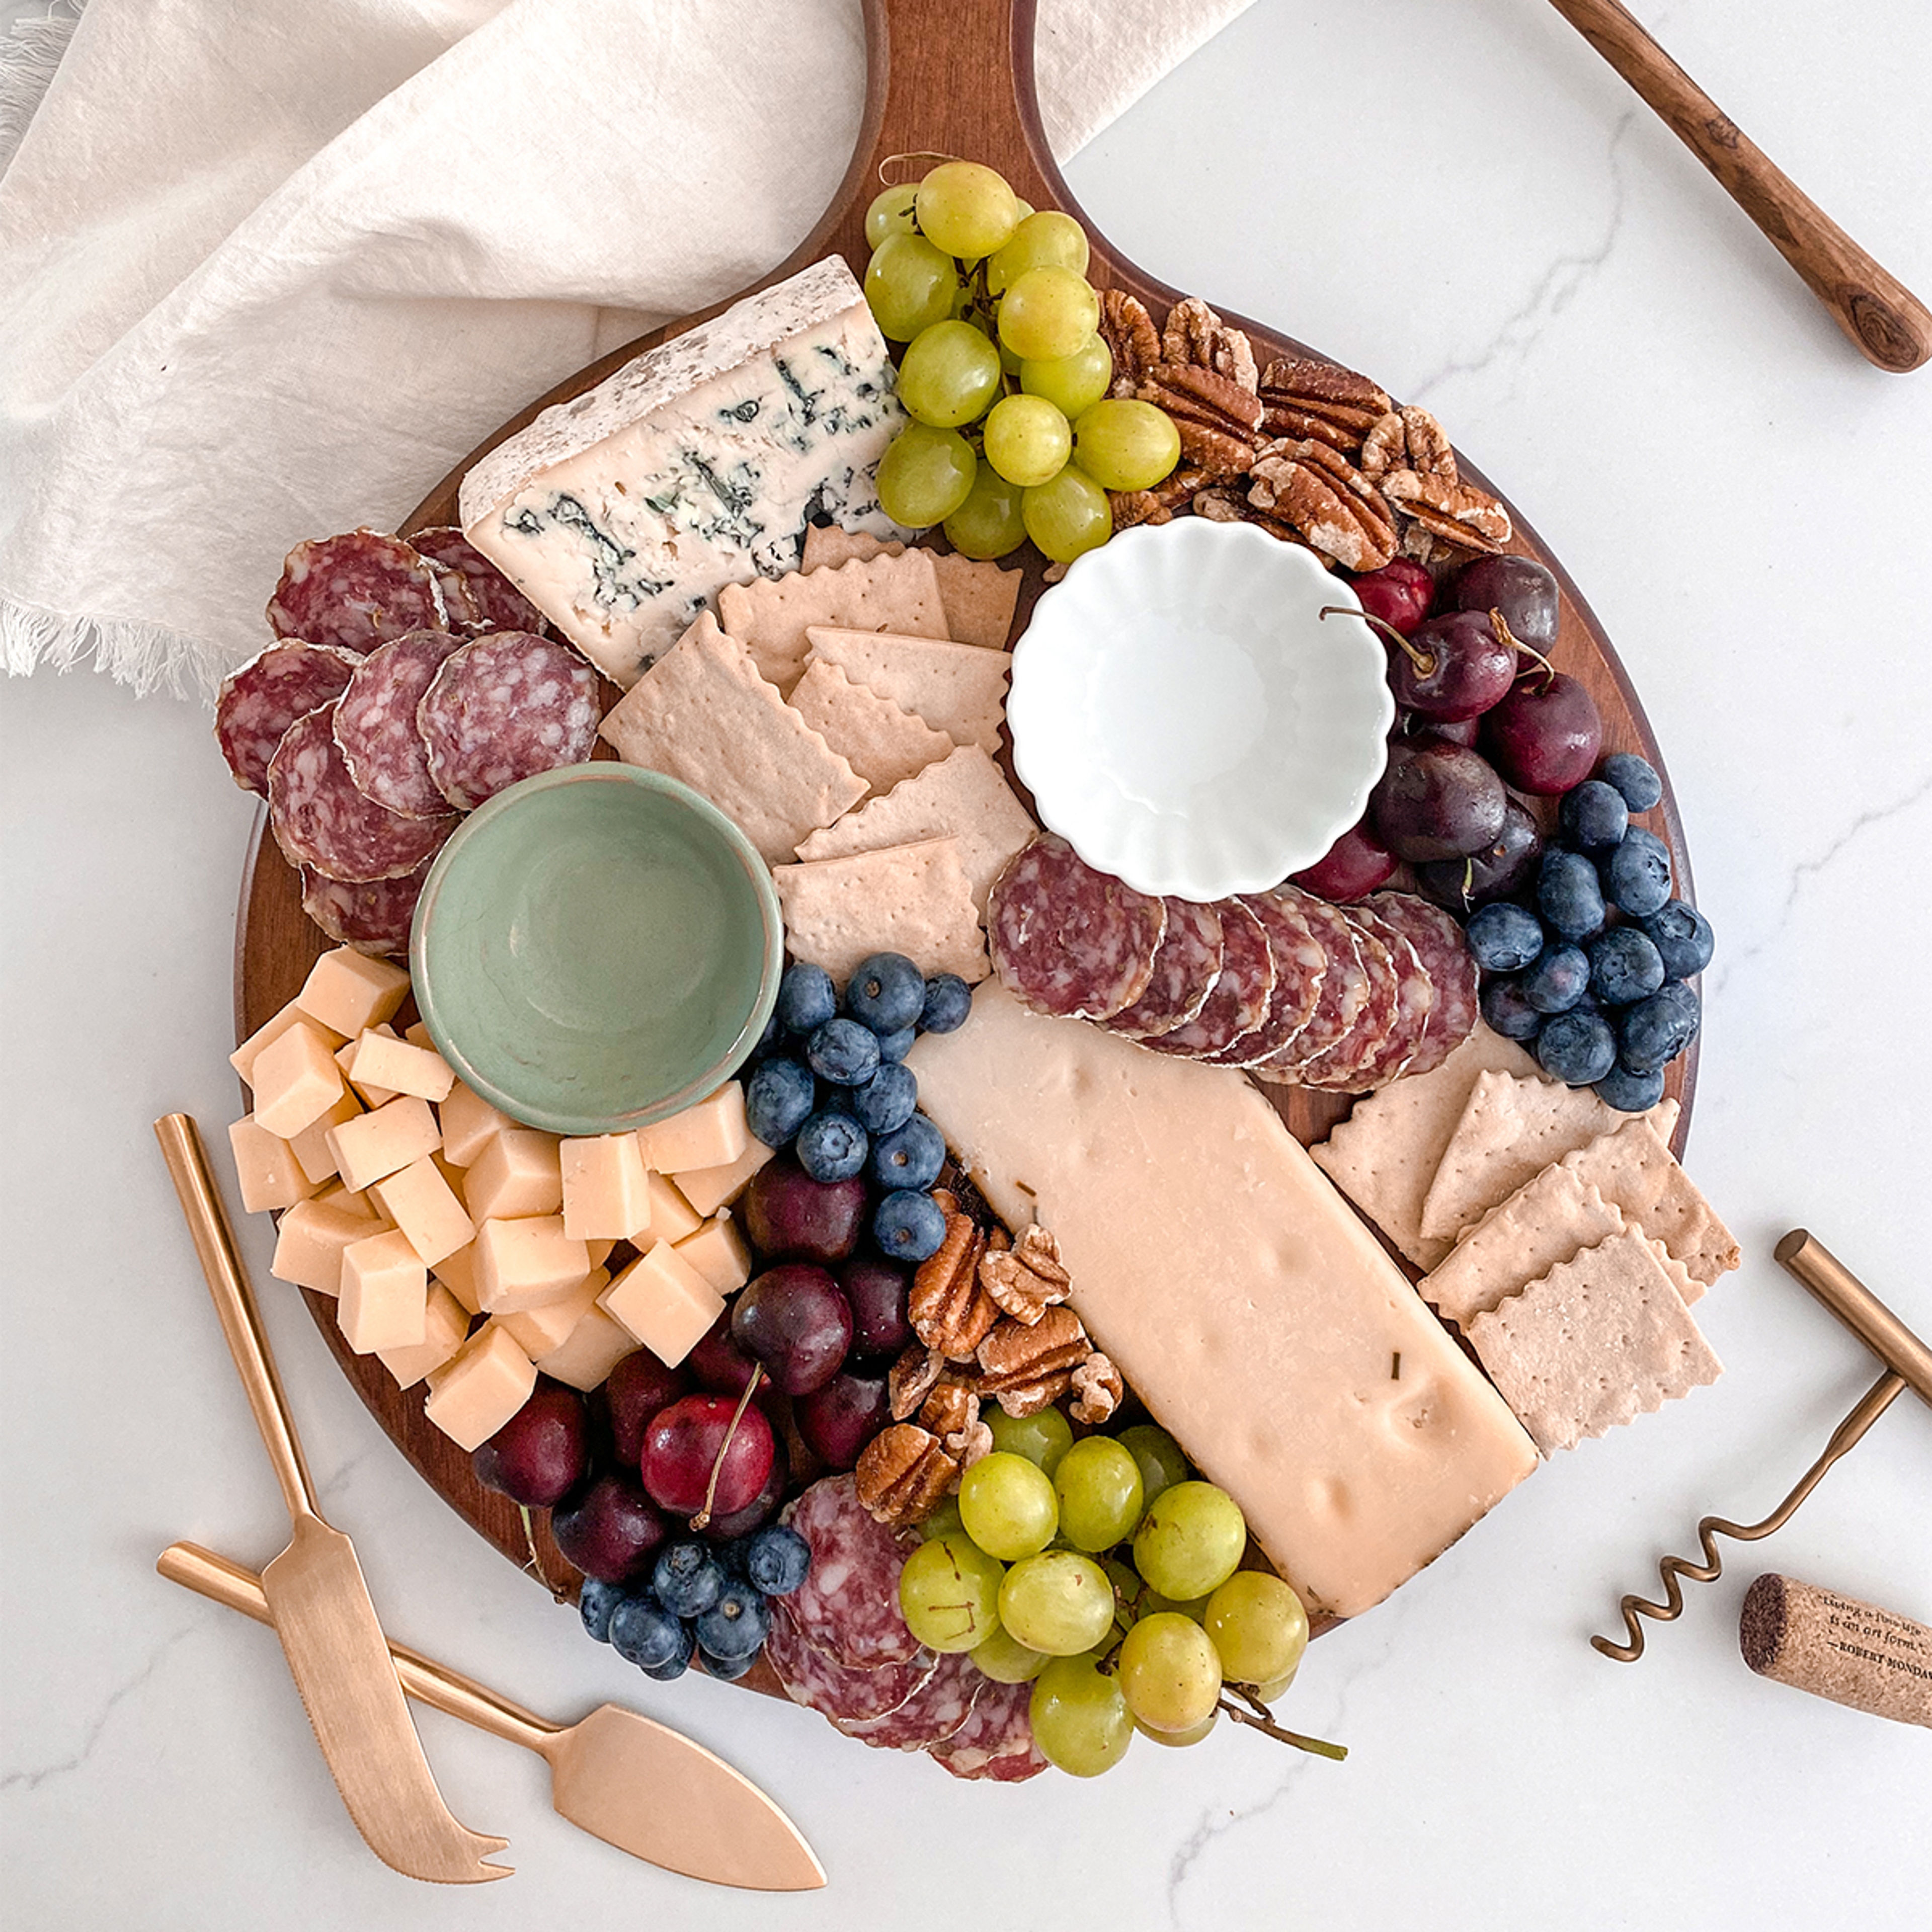
Begin by placing a few ramekins and small bowls on the board. We will add our honeys, jam, and olives here a little bit later, but for now this reserves the space for them as well as builds volume and height. If you're serving olives or anything with a pit, you'll want to have a small bowl set off to the side as well for guests to put the pits.
Step 2: Cheese
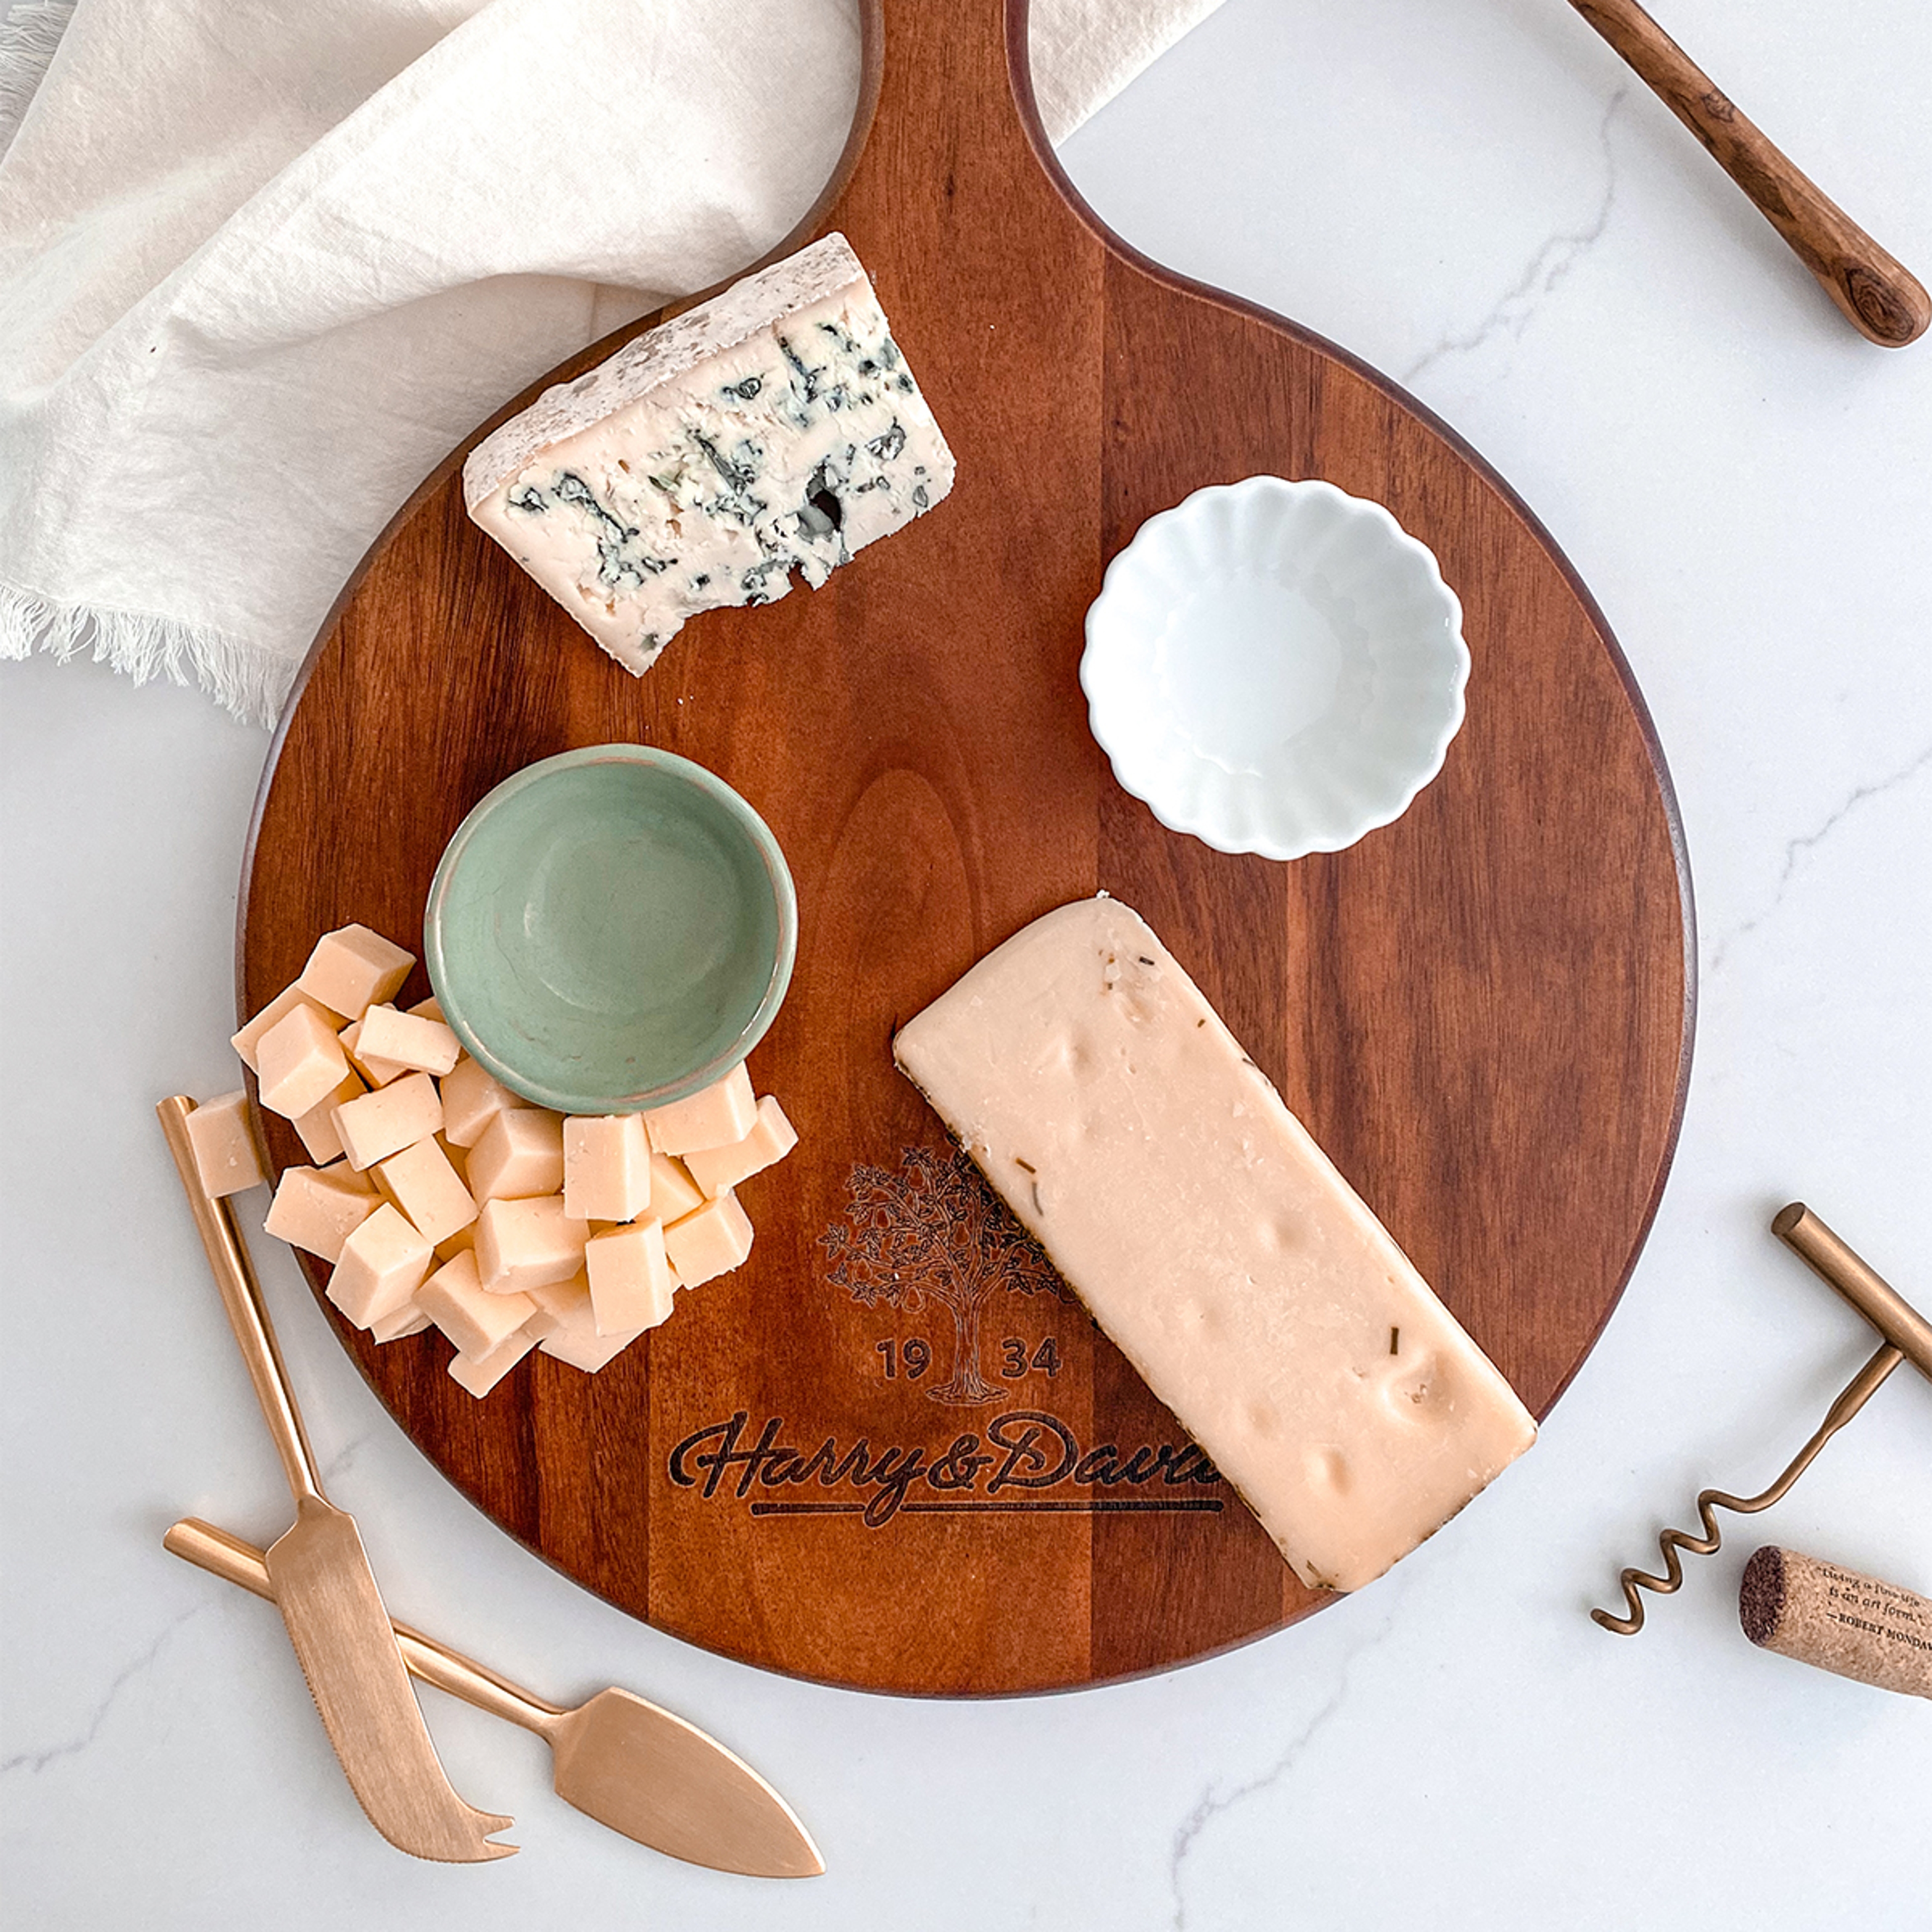
The first food you'll place is the ever-important cheese. Since the cheese wedges are often the food with the most volume, you can use them as a focal point to build off of; plus, placing the cheese first ensures it doesn't get crowded out later. I recommend choosing cheeses that vary in texture, flavor, and/or milk types, which not only will please different palates but allows for a wide variety of flavor profiles to experiment with.
For this board, I focused my cheese selections on different textures and flavor profiles. The Bayley Hazen Blue, a soft cow's milk cheese, is dense and creamy. Like most blue cheeses, this one is peppery, but also has a grassy, toasted-nut sweetness, giving it a balance of flavors that makes it great for guests who may not have tried blue cheese before. The Harry & David Gouda, a semisoft cow's milk cheese, is known for its caramel-like flavor and is a great option to have on the board for guests who prefer a milder flavor. Finally, the Sartori Rosemary and Olive Oil Asiago, a hard cow's milk cheese, has a rich, fruity, nutty flavor that lends it to pairing well with the crackers and nuts (and chardonnay, if you're serving wine).
On this board, I styled the blue cheese and Asiago on their own. Because of its creaminess and tendency to crumble, blue cheese can't be cleanly cut into smaller pieces and should always be left in a wedge for guests to cut their own servings. I decided to leave the Asiago as a whole wedge too, to serve as a focal point for the board. Lastly, the Gouda was sliced into cubes to distinguish it from the other cheeses and add a different visual to the board. Depending on the amount and types of cheese you serve, you can also cut them into triangles, rectangles, or squares, so that each one stands out on its own.
Step 3: Produce and carbs
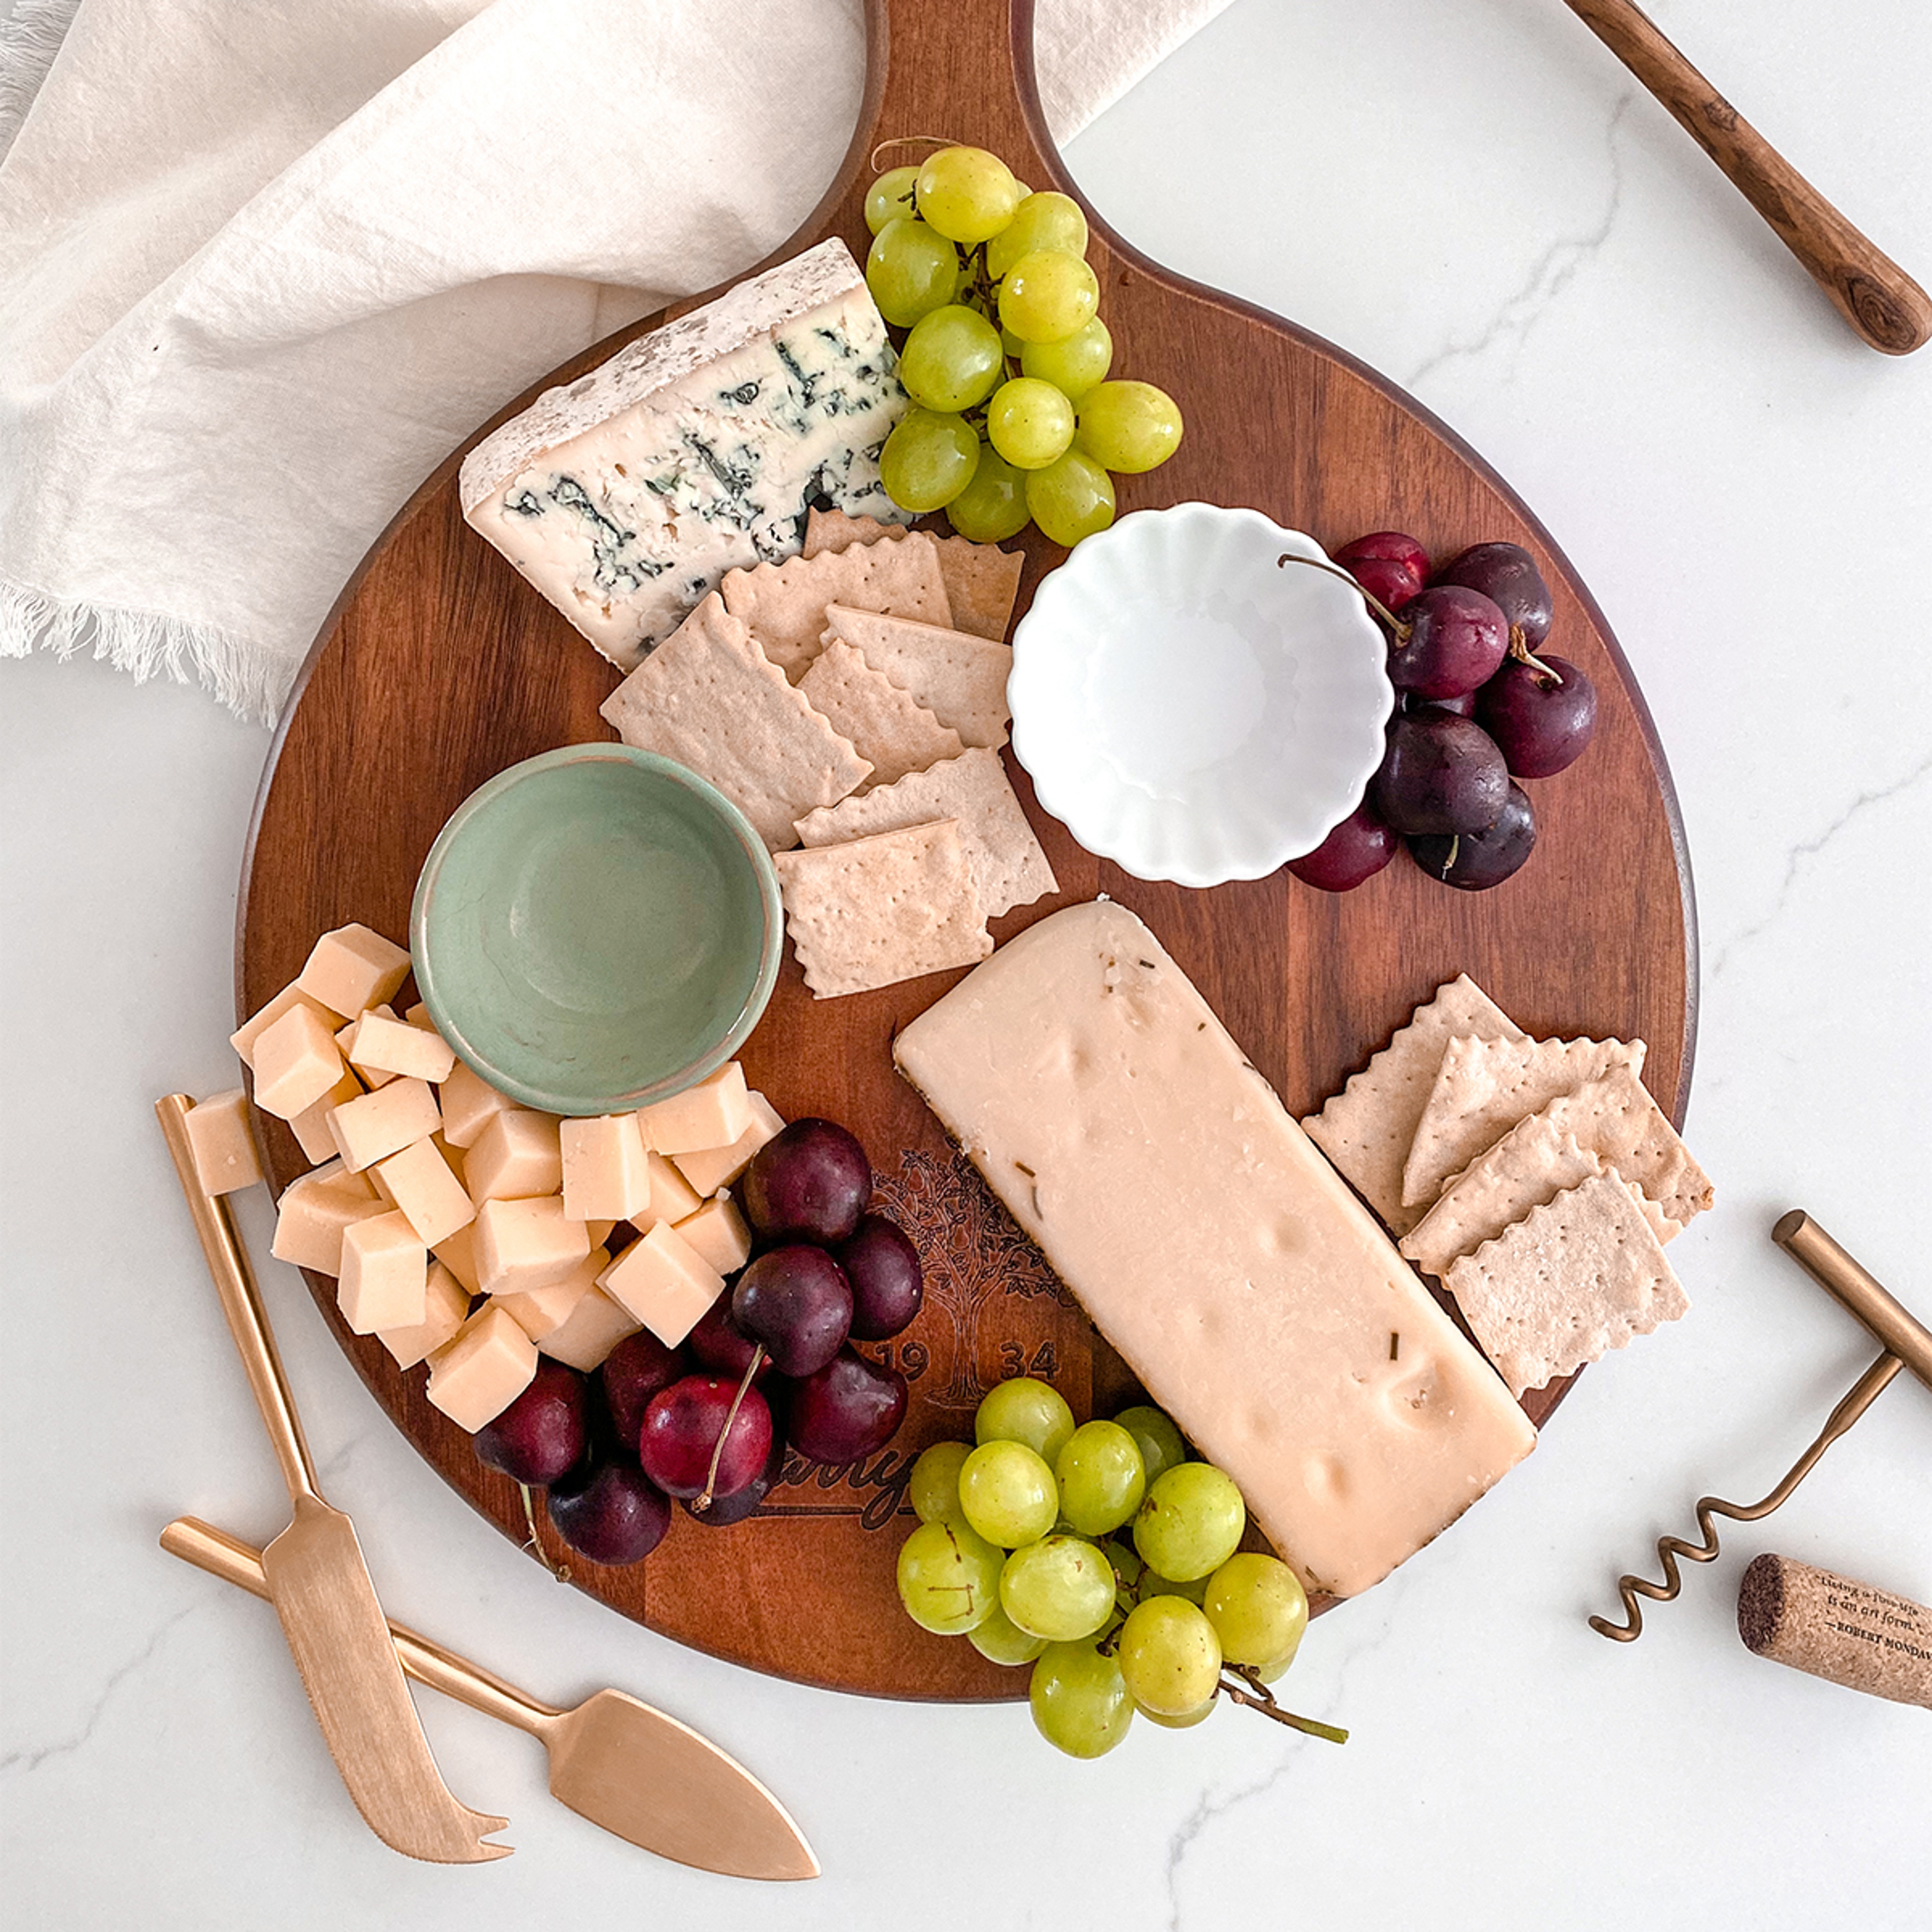
Next, add on your favorite seasonal fruits and vegetables, or any other fun element you might want to add depending on the theme of your board (such as pastries if you're making a breakfast board). This is the step where you add the final items that take up a lot of space. Since this is a smaller board, I only selected one type of cracker, and I used one without many extra seasonings so that the other flavors of the board could stand out.
If you create a bigger board, you can add in a few varieties of crackers; ones seasoned with herbs can provide extra flavor and pairing options.
For the fruit, I chose grapes and cherries, both because they're in season right now so will taste the freshest and because they add bright spots of color to the board. If you're serving sliced apples or pears, you can brush a bit of lemon juice on top so that they don't brown before you serve them.
Step 4: Meat
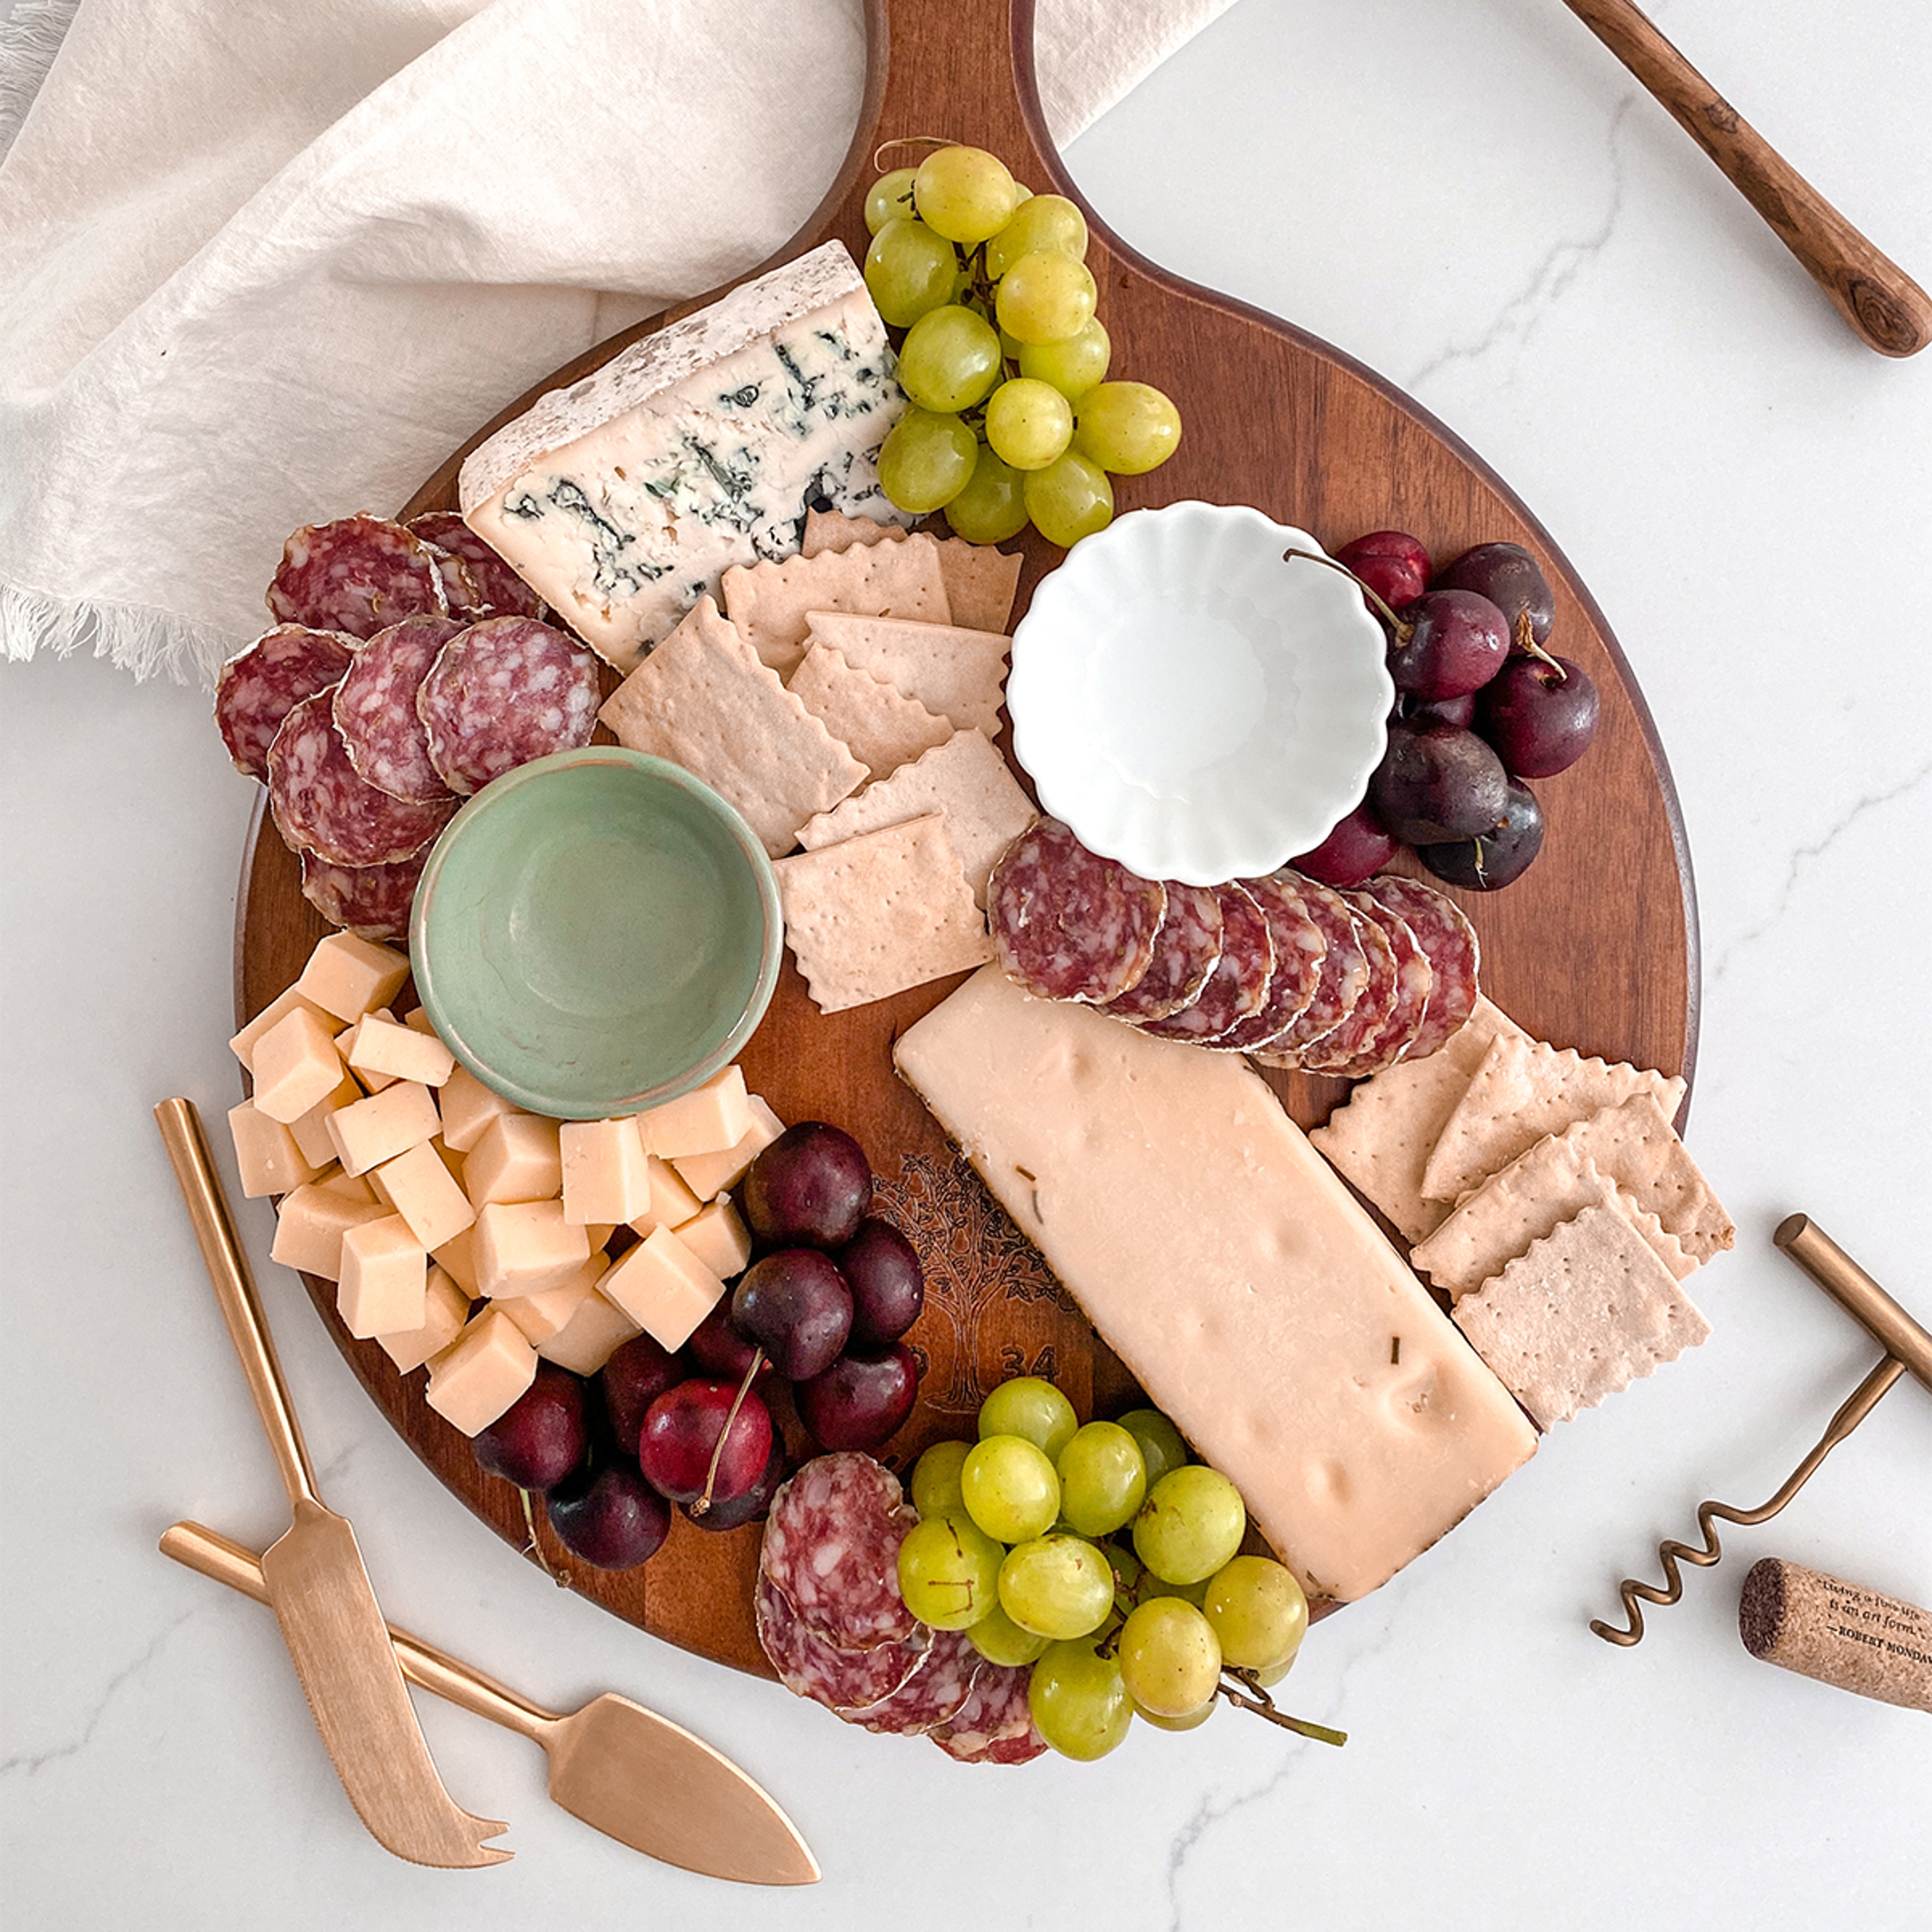
Now we add the charcuterie. Since I'm not creating a very big board, I only used one type of meat, a hard Toscano salami that I sliced into smaller pieces. But you can also use prosciutto, soppressata, chorizo, or others if you want to try out different flavor combinations. If you're entertaining guests who don't eat pork, you can also try other meats such as bresaola (beef) or roasted turkey breast.
There are a couple ways you can arrange the meat on the board. The simplest methods are to put the pieces in a pile or to arrange them in a line, overlapping the previous piece. Both of these allow guests to easily grab a single slice. If you have bigger pieces of meat or charcuterie that's more pliable, like prosciutto, you can fold them in half or quarters before placing them on the board. Or you could even create salami roses, for added height and visual interest.
Step 5: Smaller "filler" tems
By this point, your board is getting pretty full. There will be a few smaller unfilled spots, which you'll now want to fill with smaller fruits and nuts to help the board feel complete and abundant. I chose fresh blueberries and a salty roasted pecan. During the holidays, you can use this step to add some festive favorites like cranberries or a sweet and spicy nut mix.
Step 6: Dips and garnish
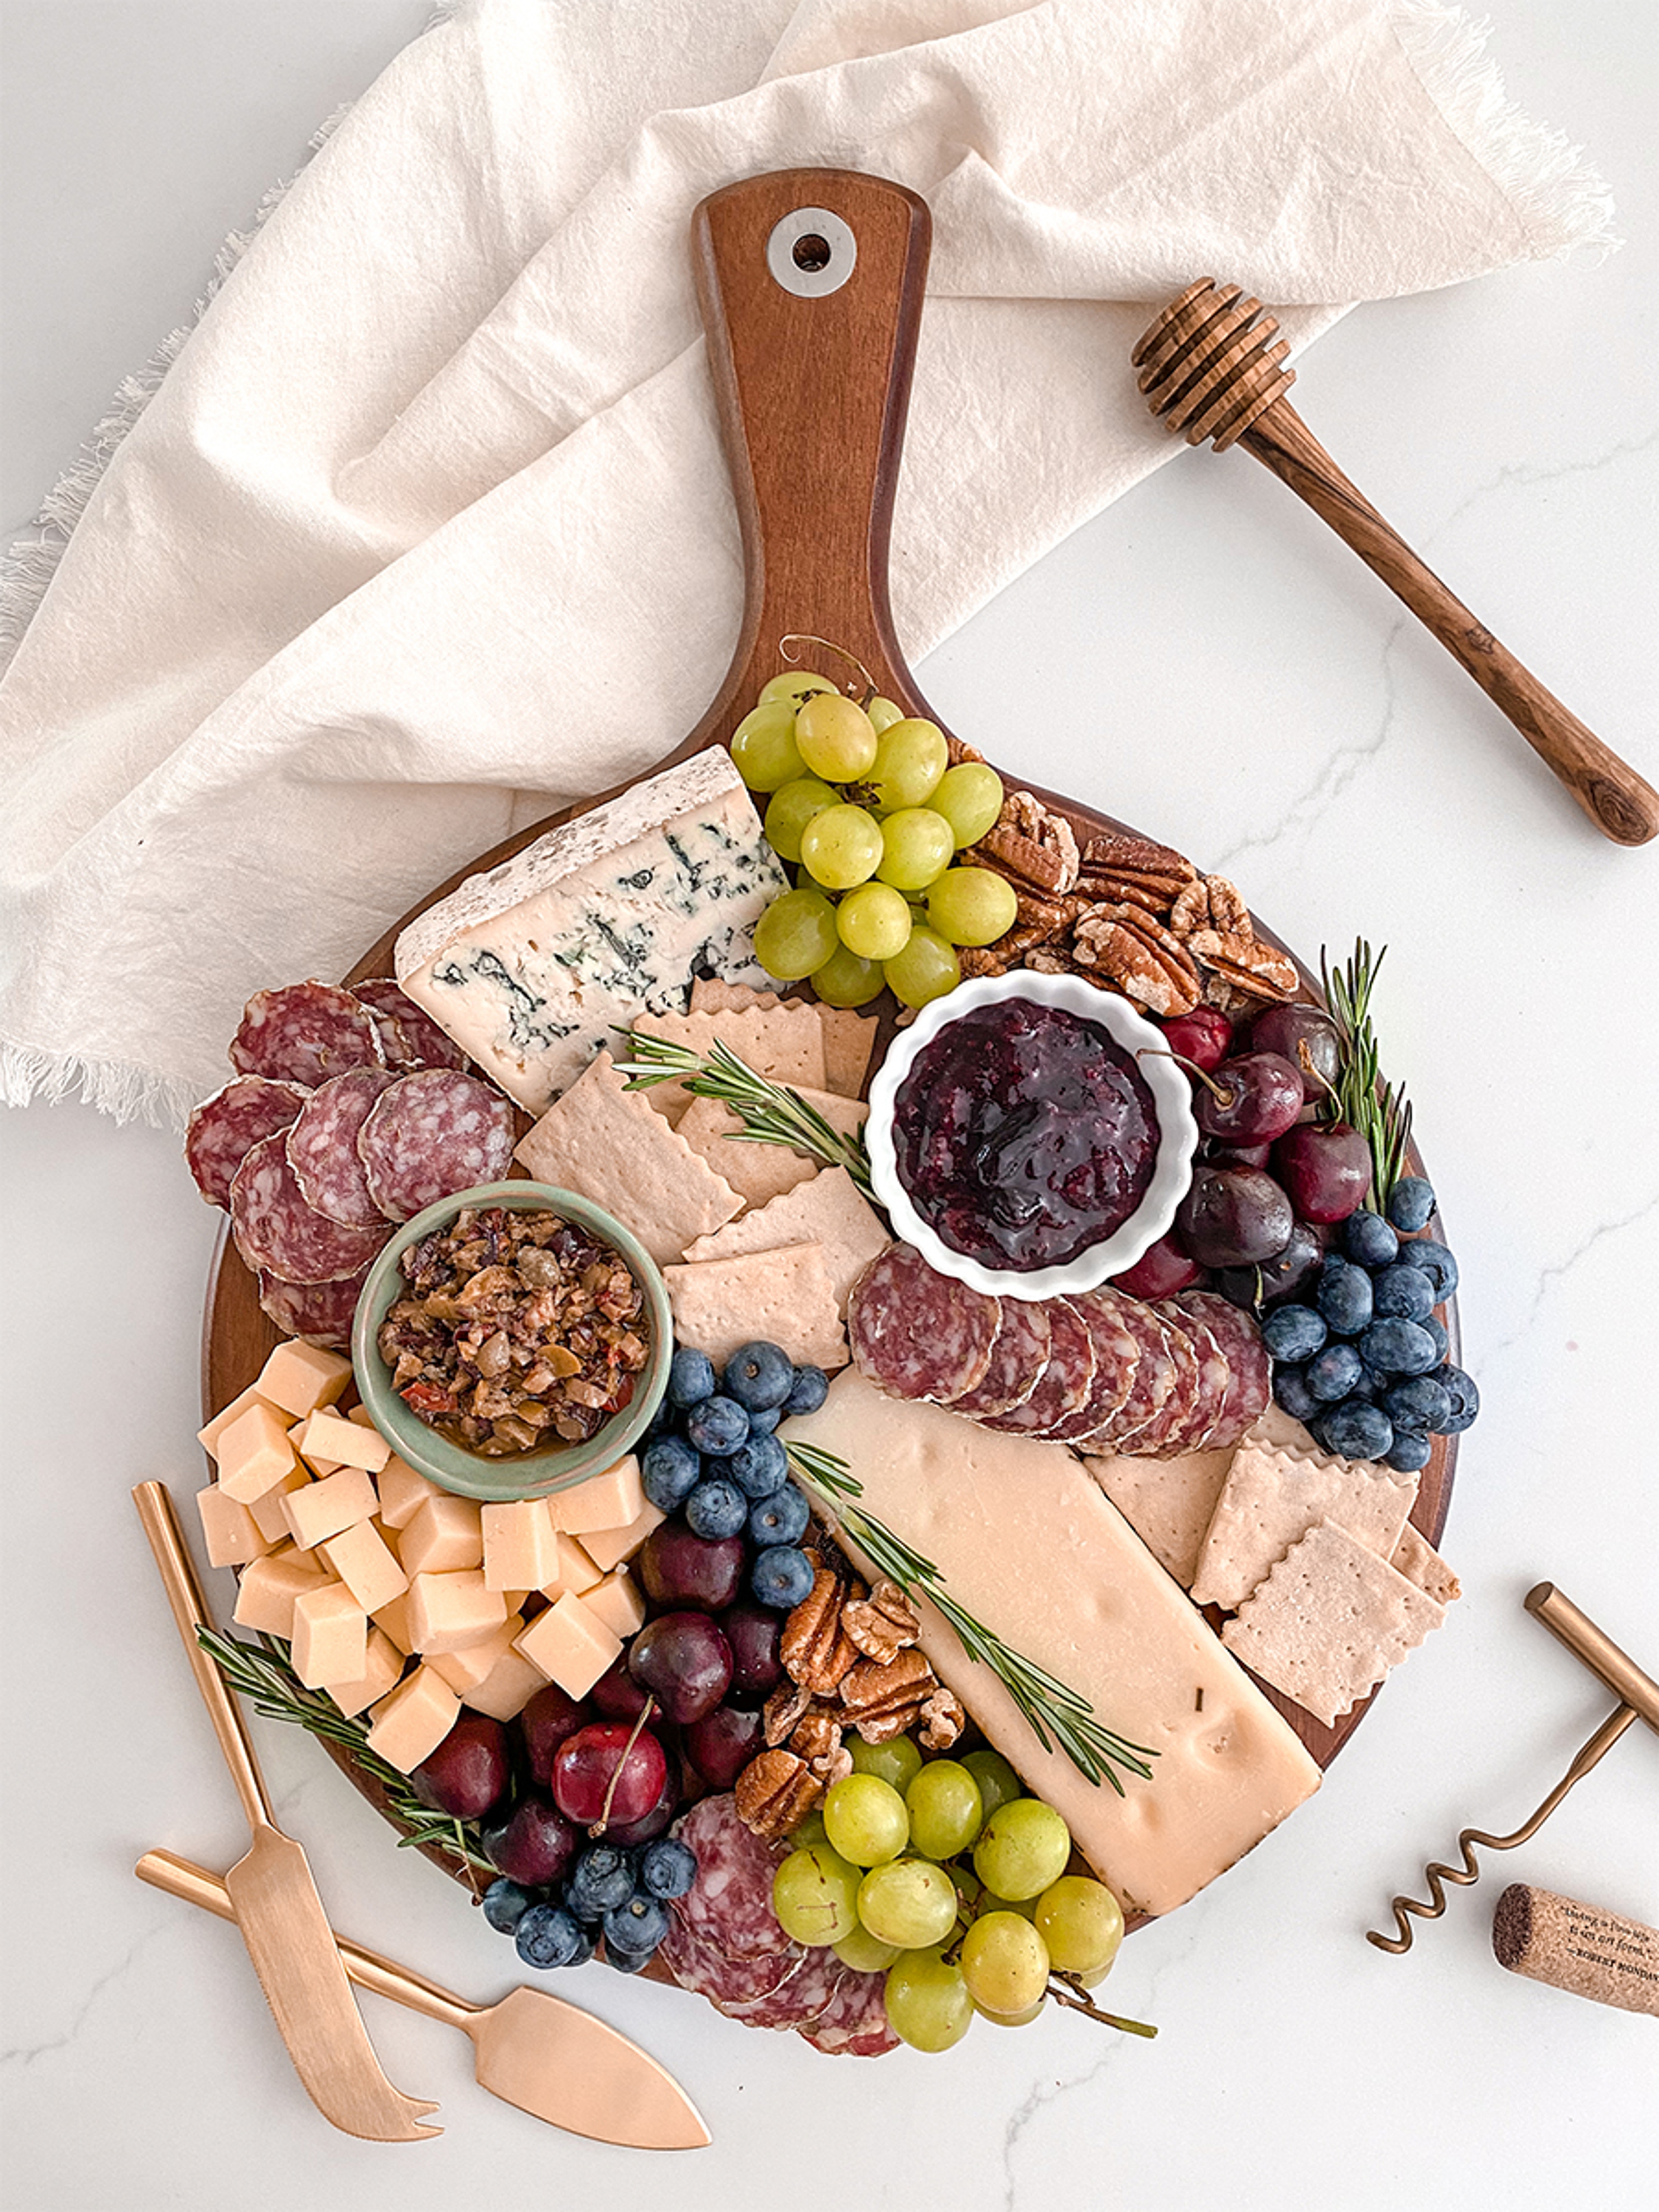
The last step is to fill in those ramekins with a dip or salty element (like olives, nuts, or pretzels) to build the flavor in your bite. I typically reach for a sweet jam or honey, which complements the savory options on the board. For this board I used Harry & David Preserves and Green Olive Spread. Finally, I like to add some beautiful herbs or fresh flowers, for extra color and to tie the board in with what's in season.
And there you have it! Time to serve your board. Pair it with a glass of wine or a seasonal cocktail like a pear mojito.
AUTHOR

Olivia Carney grew up being taught to appreciate each moment shared with friends and family and that every party, no matter how small, deserves good cheese and fine wine. When she's not building cheese boards on @charcuterie.chick, Olivia enjoys being a dog mom and traveling the world.