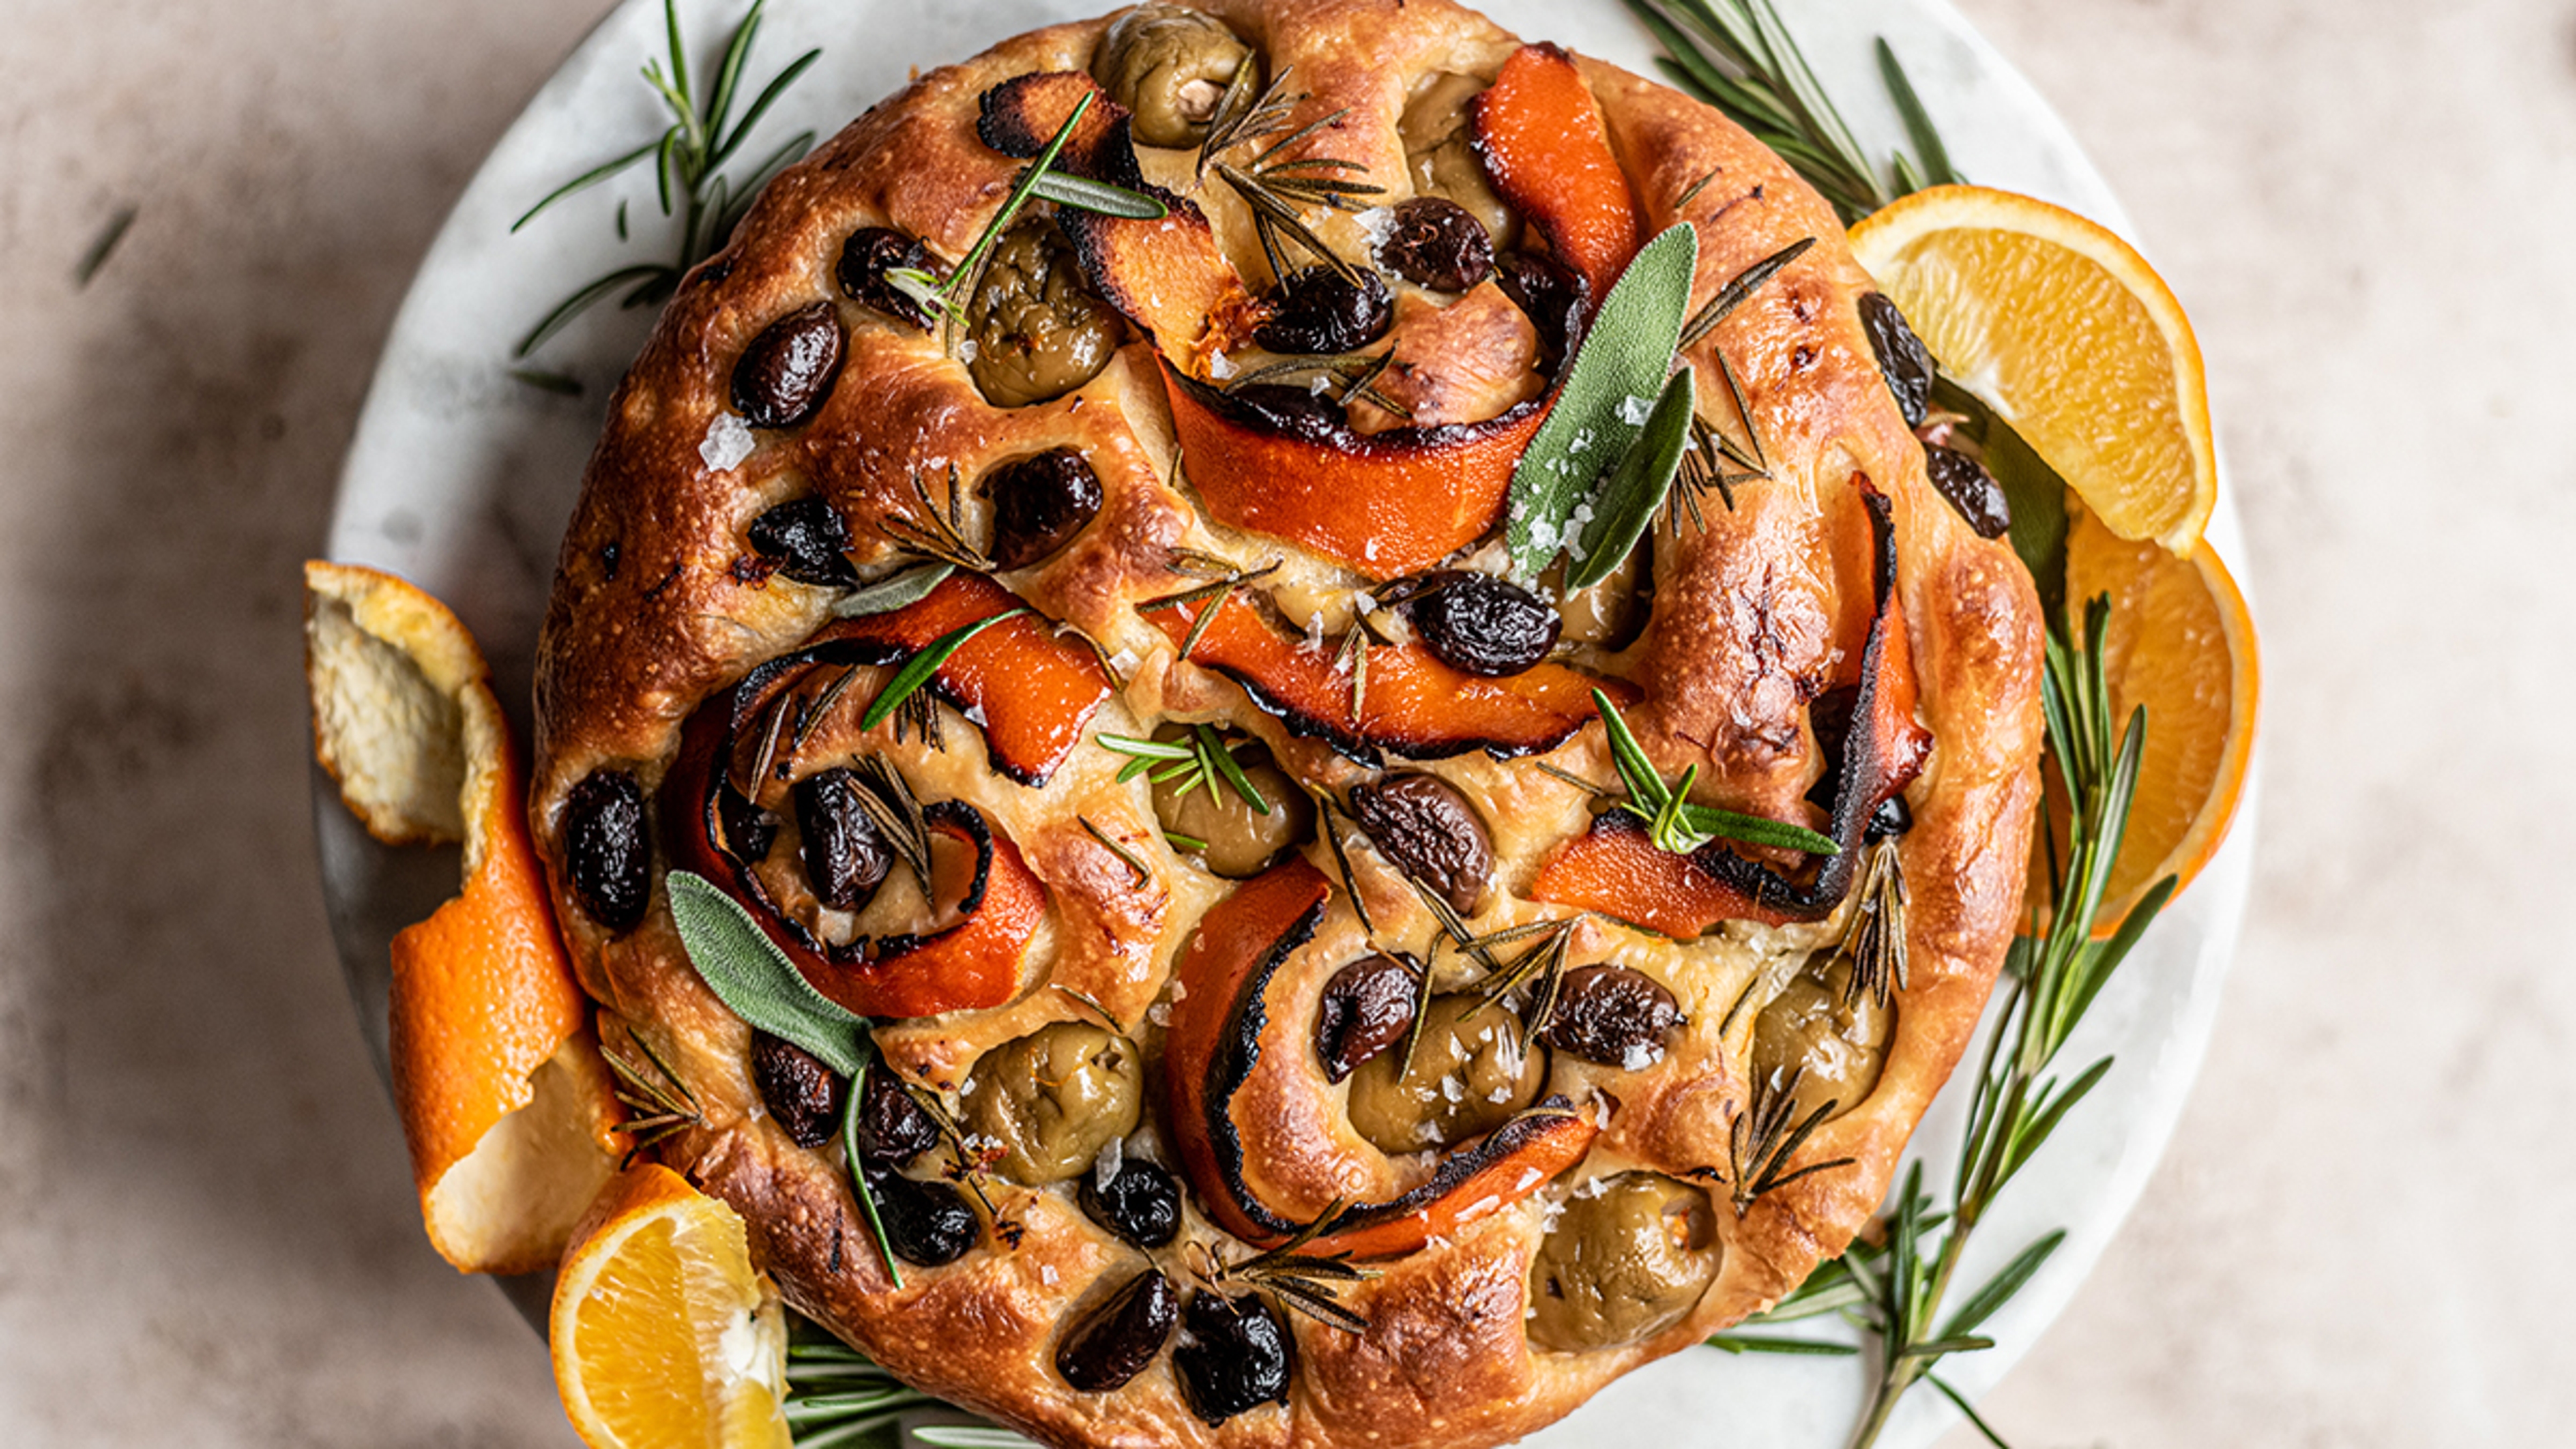
You Knead to Try This Bread Now: Roasted Orange and Olive Oil Focaccia
It's from Italy. Enough said.
Mar 26, 2022
Focaccia, to me, is synonymous with celebrations and gatherings. It takes time to create, it's beautiful (in looks and taste) when it all comes together, and it adds a wonderful sense of occasion to any table. This focaccia is decorated with roasted Navel oranges, tangy garlic-stuffed olives, garlic, and rosemary to bring a zesty flavor to this classic Italian flat bread.

To create that traditional earthy flavor, use the method of starting a biga (similar to a sourdough starter but with the addition of commercial baker's yeast) the day before you plan on baking — set it and forget it for 24 hours — and allowing it to ferment overnight. This takes extra time, but it's a simple process that's well worth it for the extra flavor. Like most bread, focaccia dough requires several rises, two in an oiled bowl and two in oiled cake pans. The rises are essential to creating the distinctive air pockets in focaccia, so don't skip these steps. Otherwise you'll end up with crackers.
- 1 Stand mixer
- 2 9" baking pans
- For the biga
- 116 teaspoon active dry yeast
- 12 cup warm water (105° F)
- 12 cup all-purpose flour
- For the dough
- Biga
- 114 cups warm water (105° F)
- active dry yeast (The remaining yeast from the yeast packet)
- 34 cup Harry & David Garlic & Herbs Extra-Virgin Olive Oil (1/4 cup for the dough, 1/2 cup for the cake pans)
- 314 cups all-purpose flour
- 1 tablespoon salt
- 12 cup Olive oil (separated)
- For the roasted orange and olive topping
- 1 cup Garlic Stuffed Olives
- 1 cup Kalamata olives
- 2 Navel oranges (peel from both)
- Navel orange (freshly squeezed juice of 1)
- 4 sprigs fresh rosemary
- Olive oil (to drizzle over dough before baking)
- salt
- For the biga
- Combine warm water and active dry yeast in a mixing bowl and let it sit for 5 minutes.
Add in flour and stir to combine. Cover the bowl with plastic wrap and leave 12-24 hours to ferment or until the starter triples in size. Once done, the biga will be bubbly and look like pancake batter.
- For the focaccia dough
- Add the biga to the bowl of the stand mixer. Add the warm water, Roasted Garlic and Herbs Olive Oil and the rest of the yeast, and mix with the dough hook attachment on low. Slowly mix in the flour until fully combined.
- Add the salt, turn the speed up to medium, and beat the dough until enough gluten has formed — use the window pane trick to check the gluten (more information in the notes below) — and the dough has pulled away from the bowl, about 10 minutes.
- Place the dough in a large bowl greased with 1 tablespoon of olive oil (you can use more if needed). Cover with plastic wrap and leave it to rise until it has doubled in size, 1 1/2 -2 hours.
- Once the dough has doubled in size, remove it from the bowl and place on a clean surface. Stretch the dough by pulling up on each side and folding across so it tucks in on the opposite side. Put the dough back into the bowl, folded side down and cover with plastic wrap.
- Let it rise until it has doubled in size again, about 1 hour.
- Pour a 1/2 cup of olive oil into two 9″ baking pans and spread.
- Divide the dough into 2 equal pieces, and place each piece into a pan. Lightly stretch the dough so it reaches the edges of each pan. Cover the pans with a clean tea towel and let the dough rest for 30 minutes.
- For the toppings
- Heat the oven to 400° F. On a baking sheet, add the Garlic Stuffed Olives, Kalamata olives, the orange peel and juice, and rosemary, and roast for 30 minutes.
- When the toppings are finished roasting, gently press your fingers into the rested dough to create the dimples, and then lay the roasted toppings on the dough followed by a drizzle of olive oil so the dimples are semi-full. Cover and let it rest for 45 minutes.
- Bake at 400° F for 30-40 minutes until the crust is golden and very crispy. Brush the baked focaccia with olive oil and sprinkle with more sea salt.
The windowpane trick is a simple way to know if your dough is kneaded enough. Simply cut off a small piece of dough, about the size of a golf ball, and hold it between your thumbs and first two fingers. Gently spread your thumbs and fingers apart, stretching the dough until its thin and translucent (like a windowpane). If you're able to stretch the dough without it breaking it means the gluten is well-developed and ready to begin rising. If the dough breaks, keep kneading for another 5 minutes and test again.
AUTHOR

Pate is a baker, recipe developer, and food photographer based in Louisville, Kentucky. Through her blog, The G&M Kitchen, she showcases easy, elegant, and beautiful recipes inspired by southern traditions and flavors but with twists that bring them into the modern age. She also believes that if a recipe is missing something, it's usually bourbon.